Thank you for your support!

HearthandHelm
Reviving Folk Vitality in the Modern World. Video, Podcast and Blog with vital information on living holistically- from a traditional, conservative, feminine and primal perspective.
Share
Tell people about this page...
Subscription Tiers
$1
per month

Tips
Limited (2 out of 50) subscriptions
$5
per month

Tips
Thank you for your support!
$10
per month

Tips
Thank you for your support!!
$25
per month

Tips
Thank you for your support!!
Welcome
- Blog posts, videos, recipes, and podcasts. Topics include: homesteading, child rearing, spirituality, herbalism, nutrition, and more!

See something you like? Subscribe to see even more!

Public post
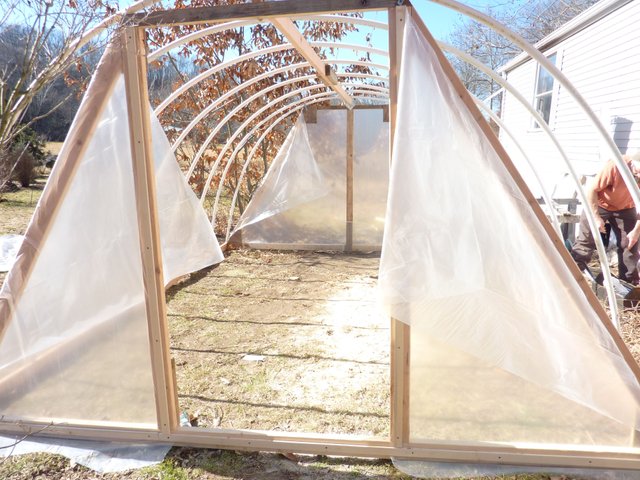
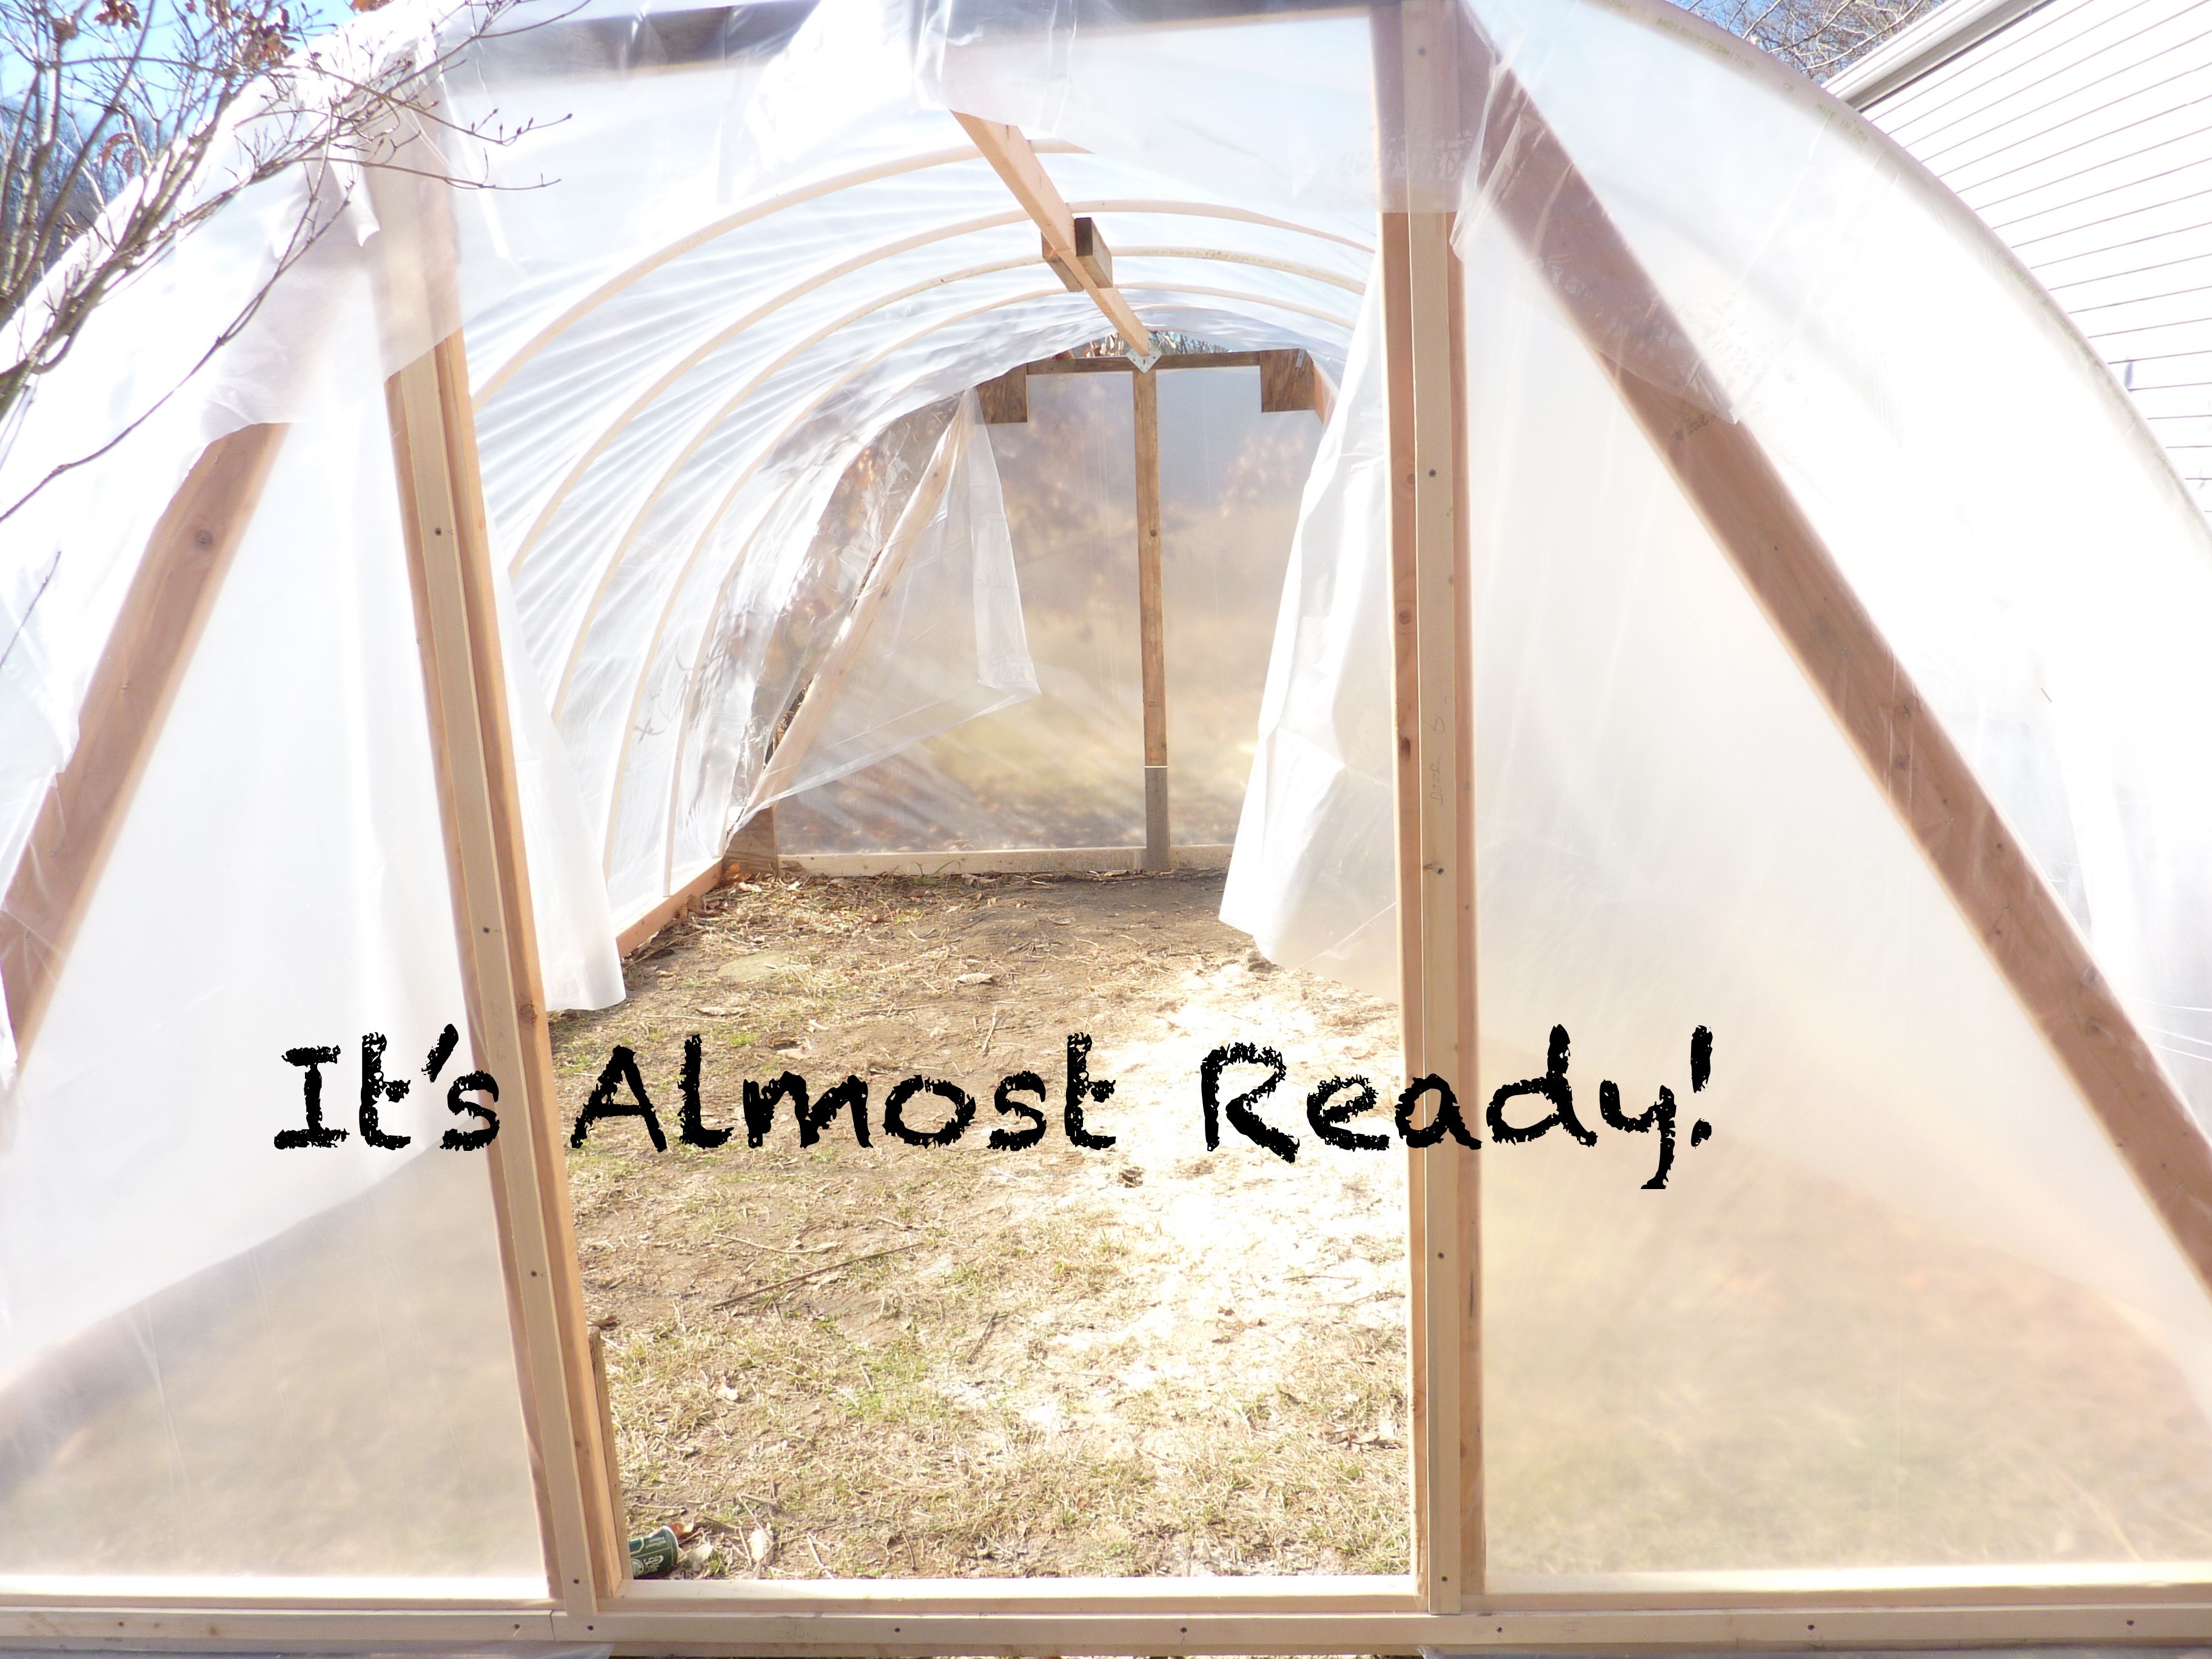
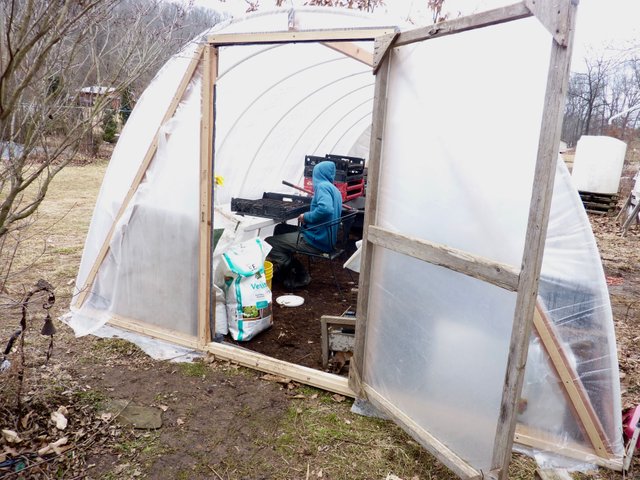
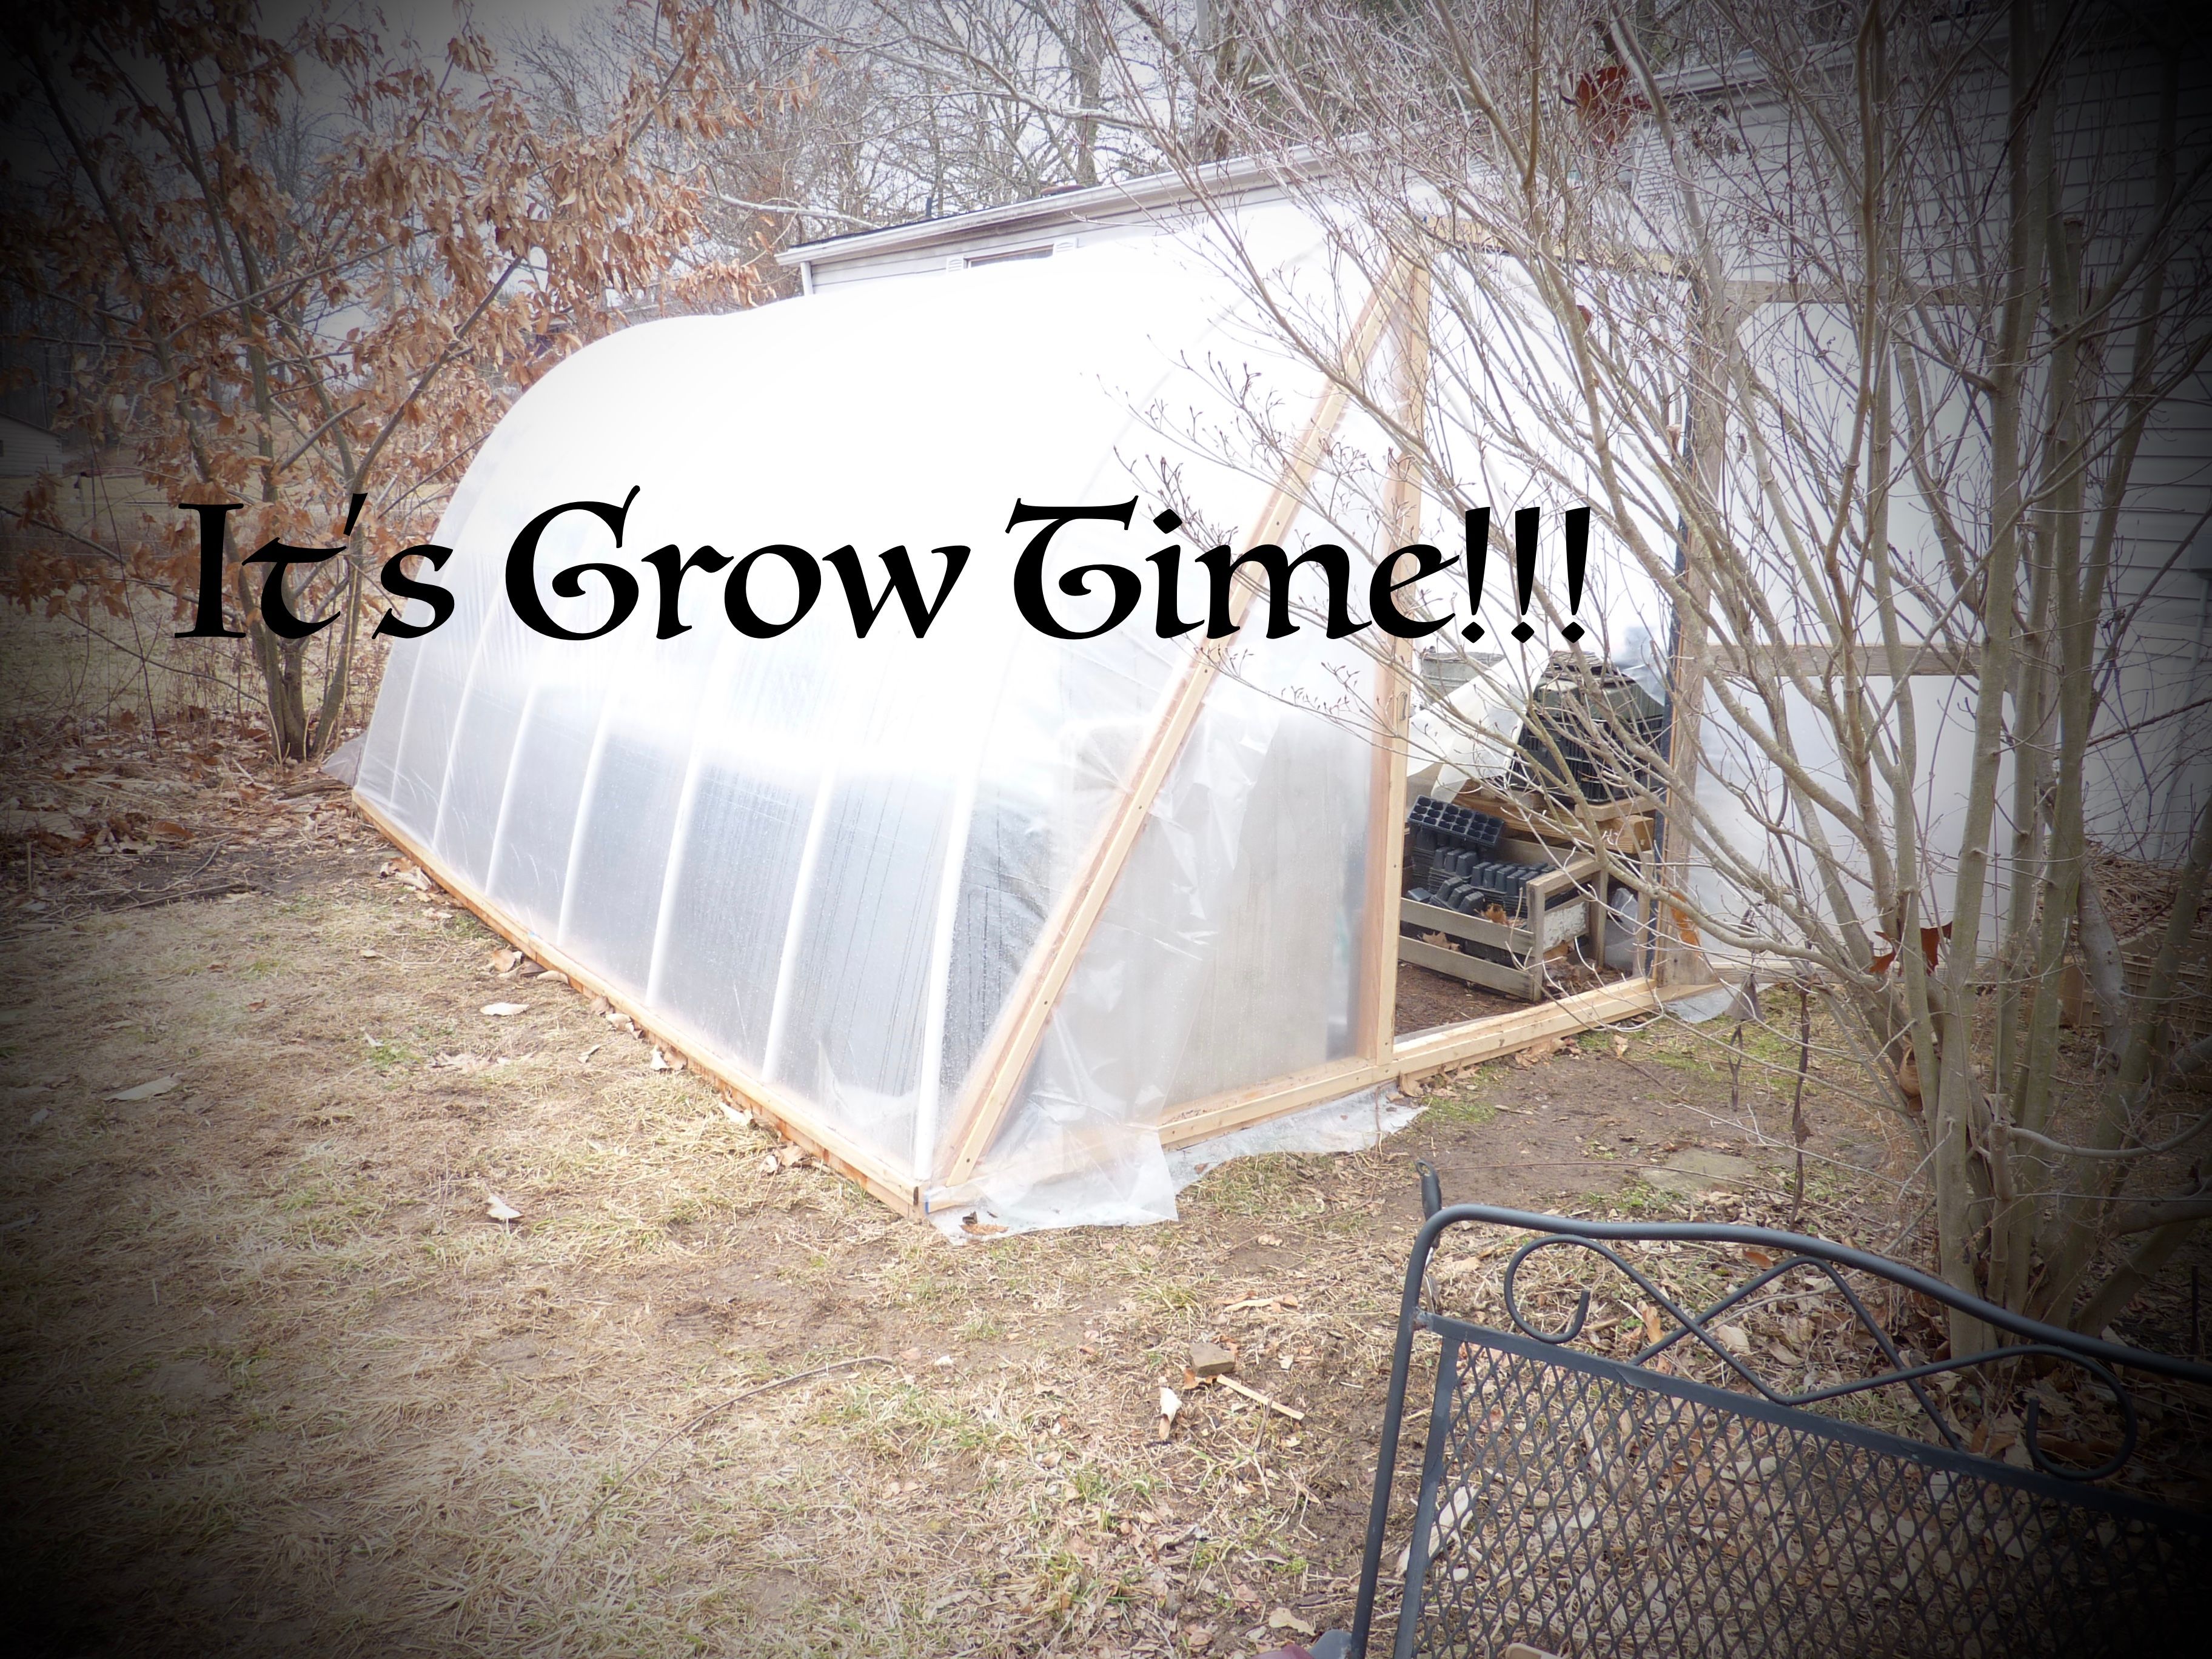
An EASY DIY Mini Greenhouse for Season Extension

I highly recommend Eliot Coleman's books on season extension for more concise information for your exact climate.
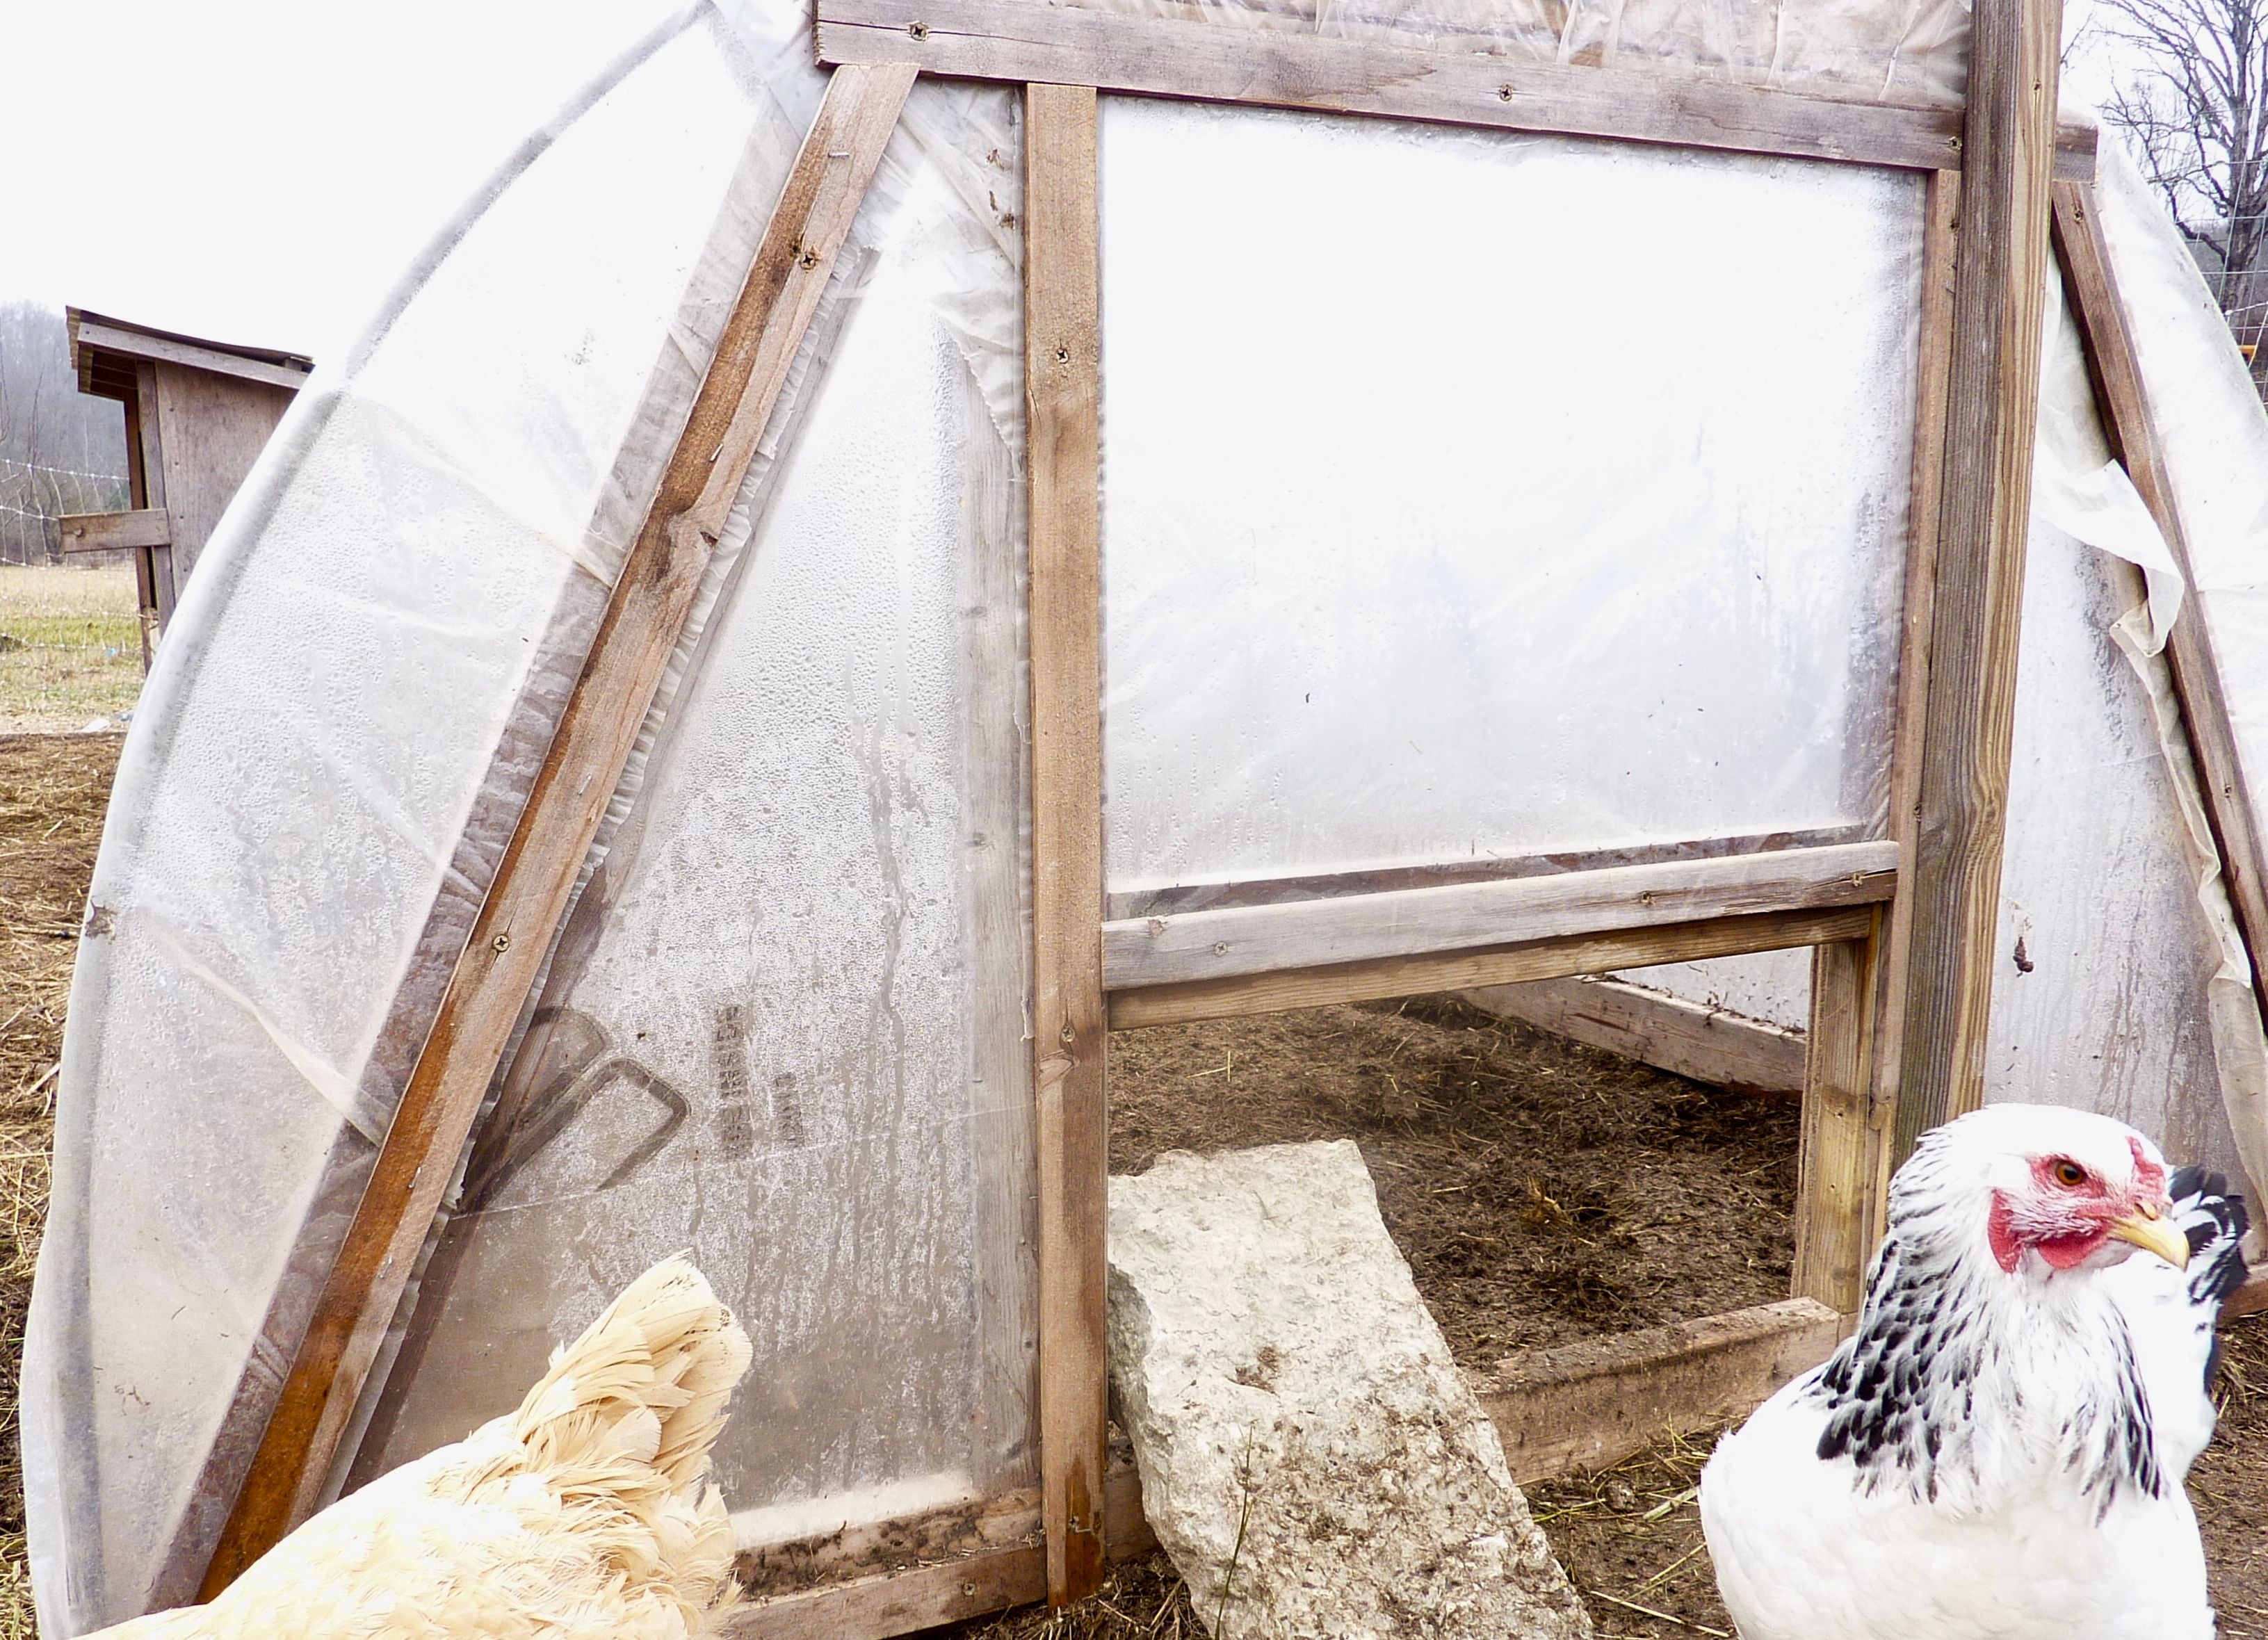
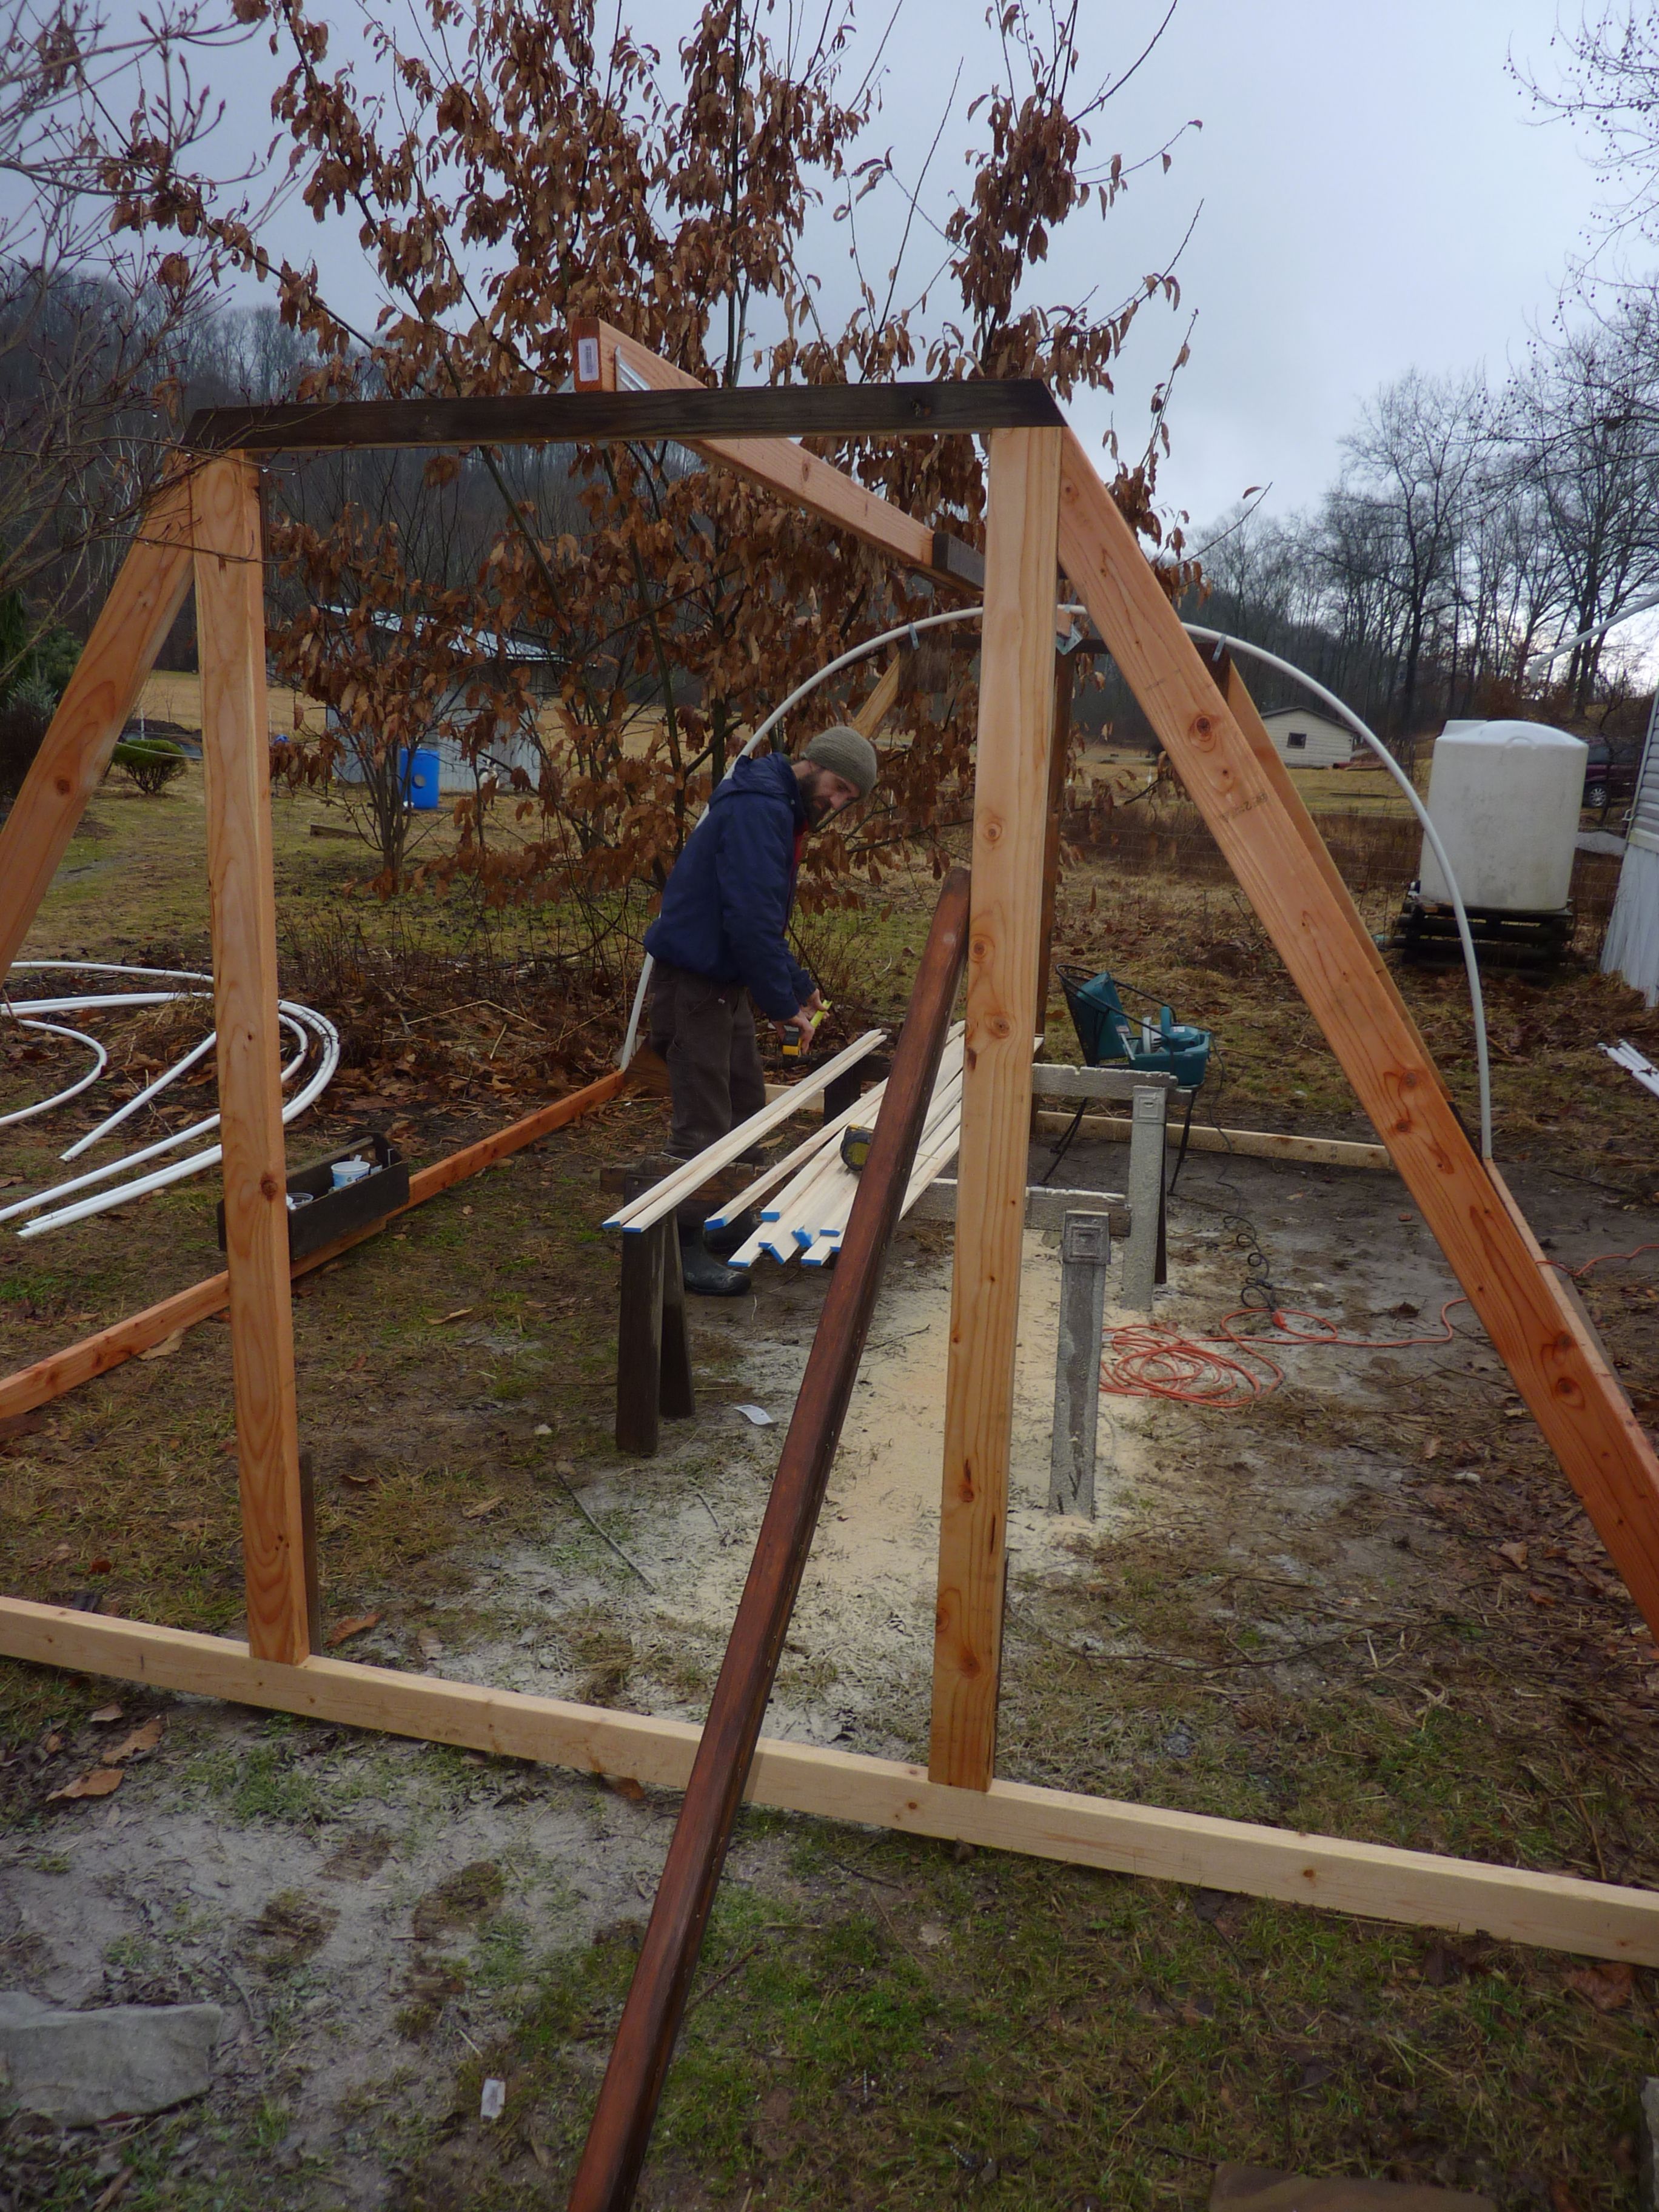
Today I'm going to tell you about this little life saver, our unheated-seed-starting high tunnel that we use every year. This style can be very useful on the homestead. With clear plastic for plants, and with canvas or old billboard tarp for portable animal shelters, it can even be a quick, inexpensive shed!
We see the plastic used in this case as appropriate technology, and although it is still plastic, and not exactly highly aesthetic, it enables us to grow so much more food than we could without it. It is also a stepping stone for us until we have a permanent plexiglass or recycled glass window greenhouse.
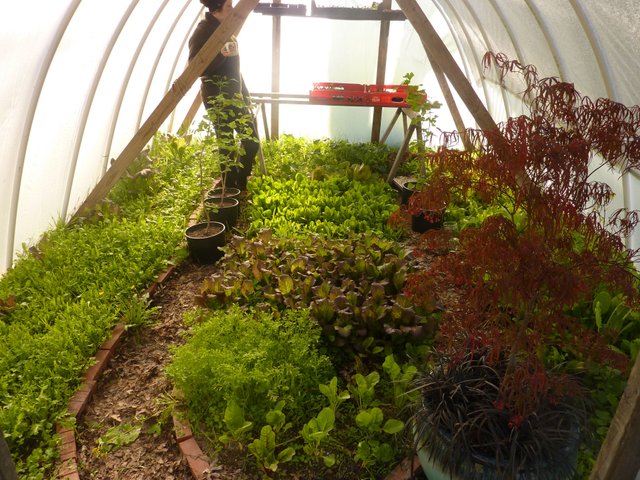
We sometimes run a small space heater for extra cold nights for the flats of seedlings that are on tables and benches. We also have planted directly in the ground in February using this same tunnel. (Things like lettuce, spinach, carrots and beets do just fine and are ready for harvest in April!
The crops get a good start with the passive solar during the day, and can tolerate some cold temperatures at night. If it's going to get very cold in late winter when we have seedlings in there, we cover them with row cover , an agricultural fabric that can be purchased from Johnny's Seeds.
The crops get a good start with the passive solar during the day, and can tolerate some cold temperatures at night. If it's going to get very cold in late winter when we have seedlings in there, we cover them with row cover , an agricultural fabric that can be purchased from Johnny's Seeds.
On sunny days it is important to vent the tunnel because it can get too hot.
Make sure to take note of the location and placement of the structure, if you are using it as a greenhouse.
1. South facing position will maximize benefit of passive solar. Do not place on the north side of a house.
2. Access to electricity if you want to use a space heater for extra heat on super cold nights.
3. South facing and adjacent/up against your home will be the warmest spot!
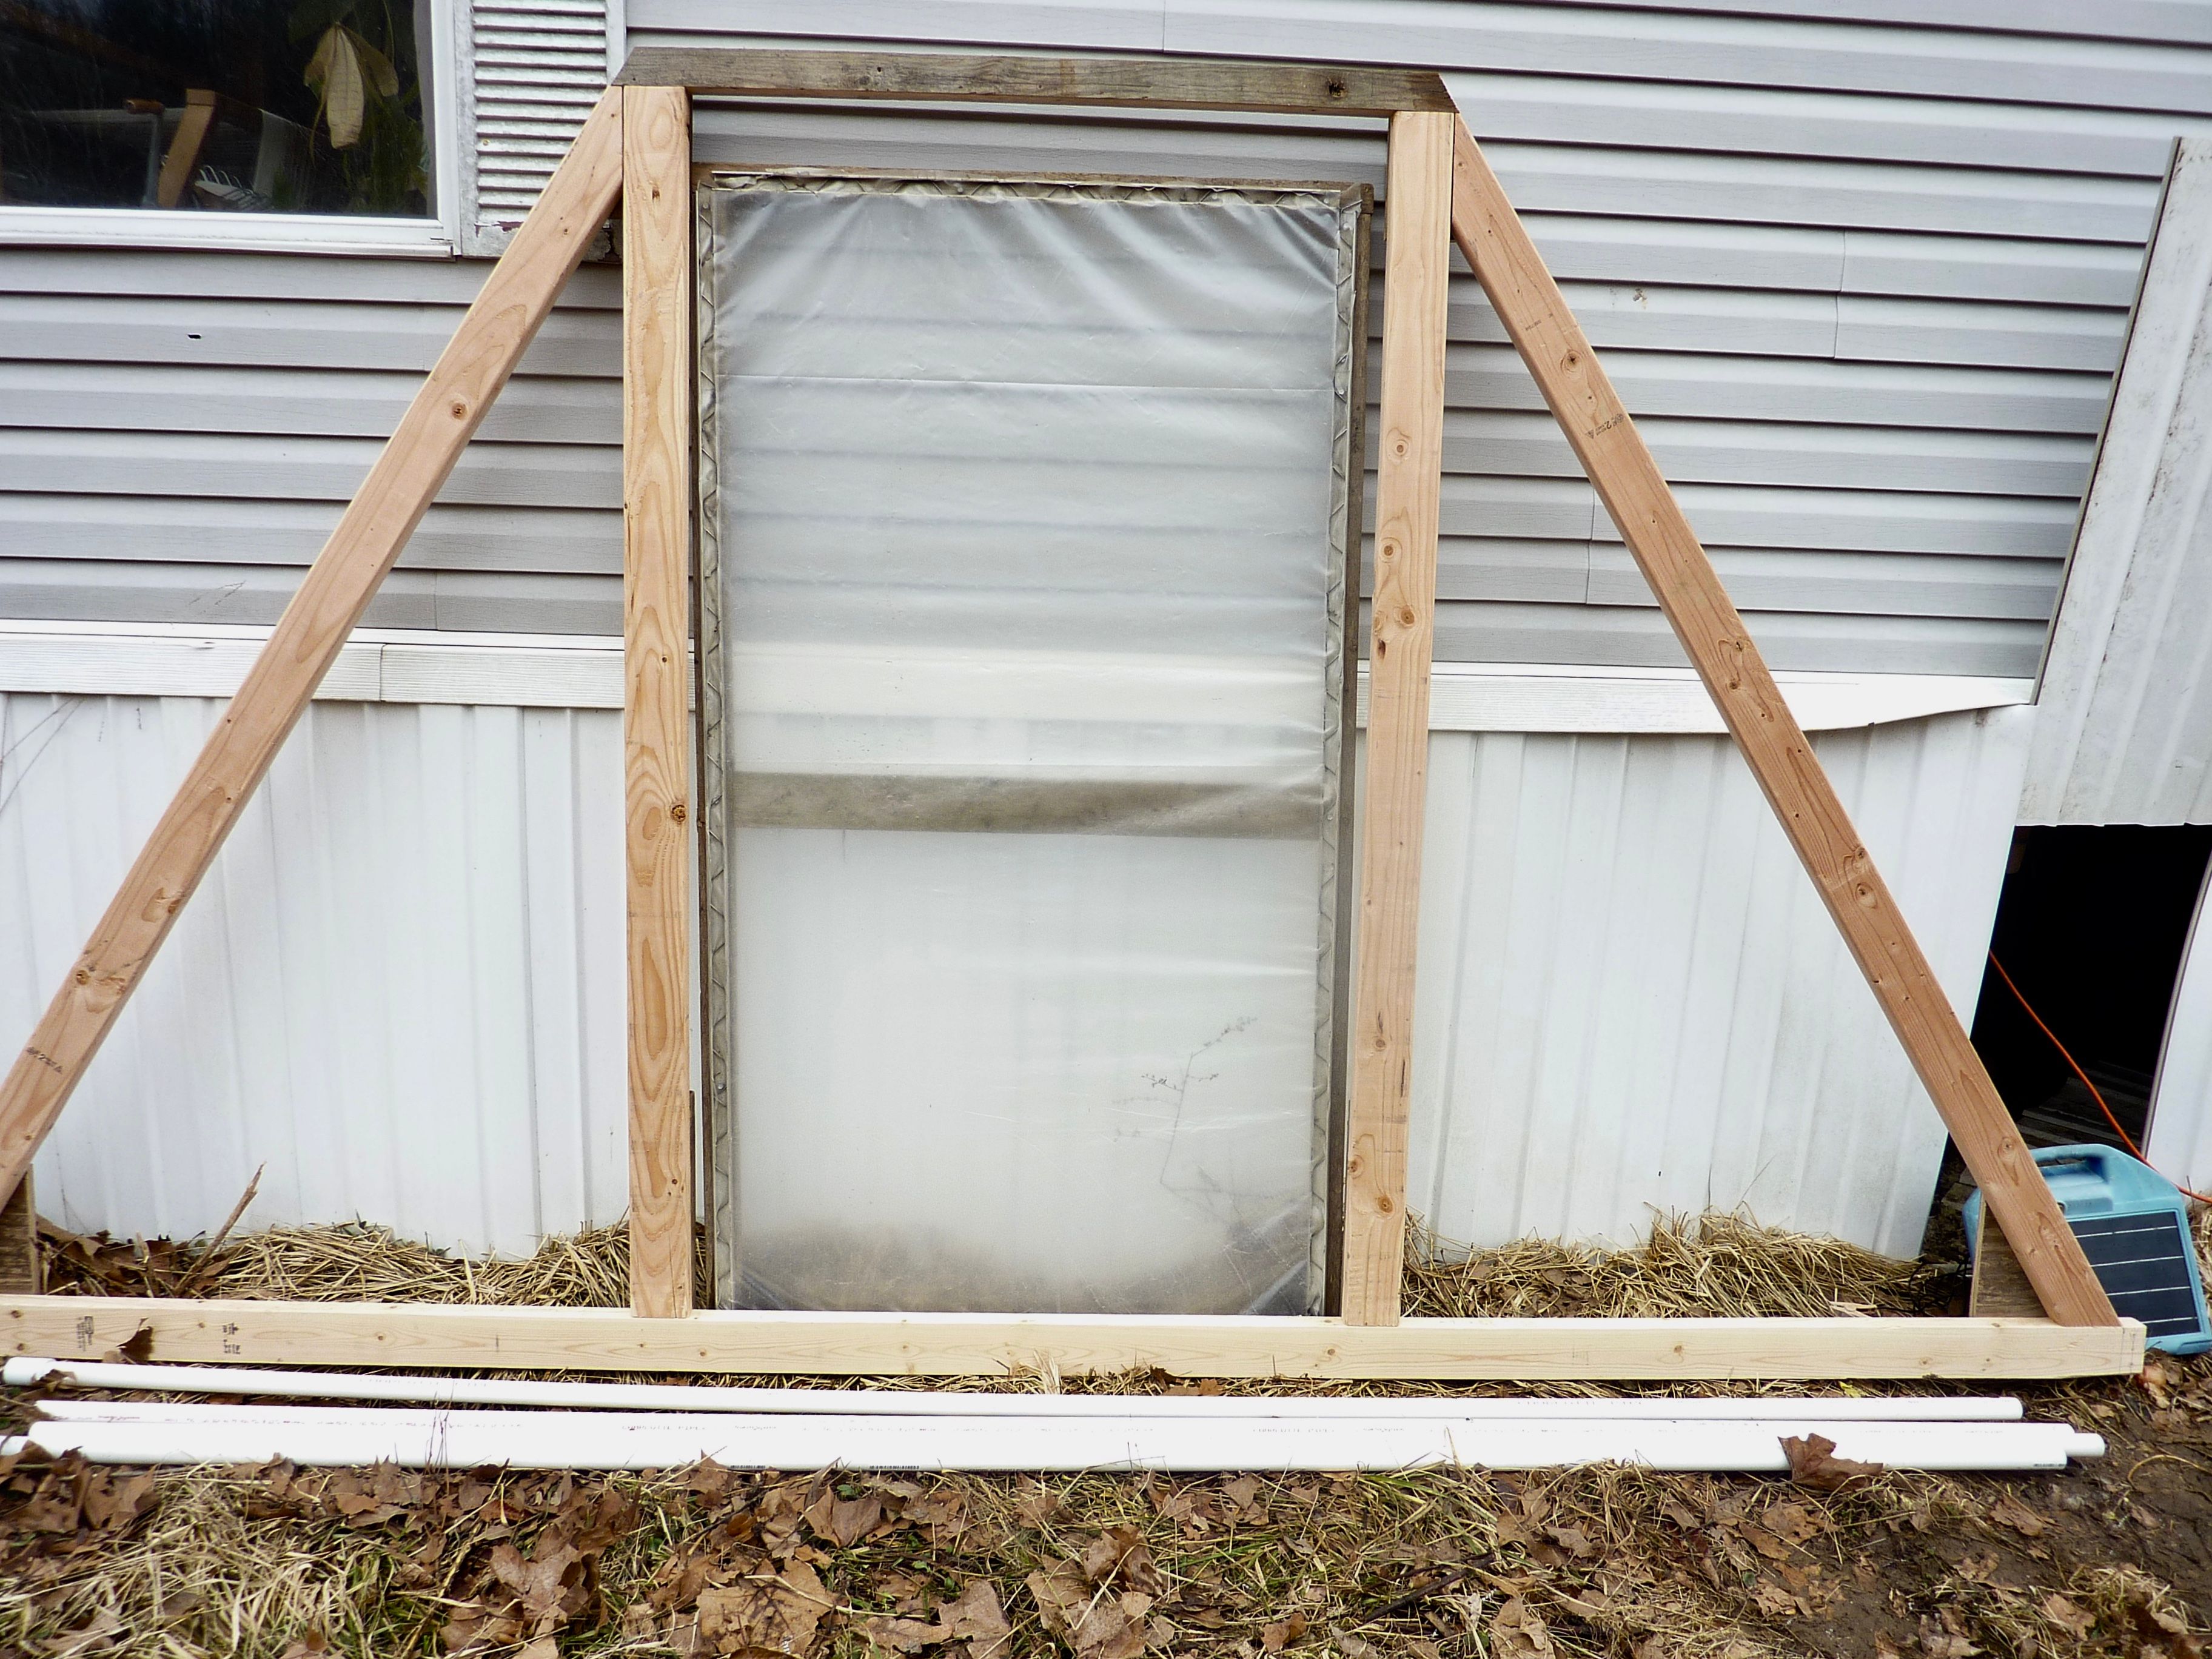
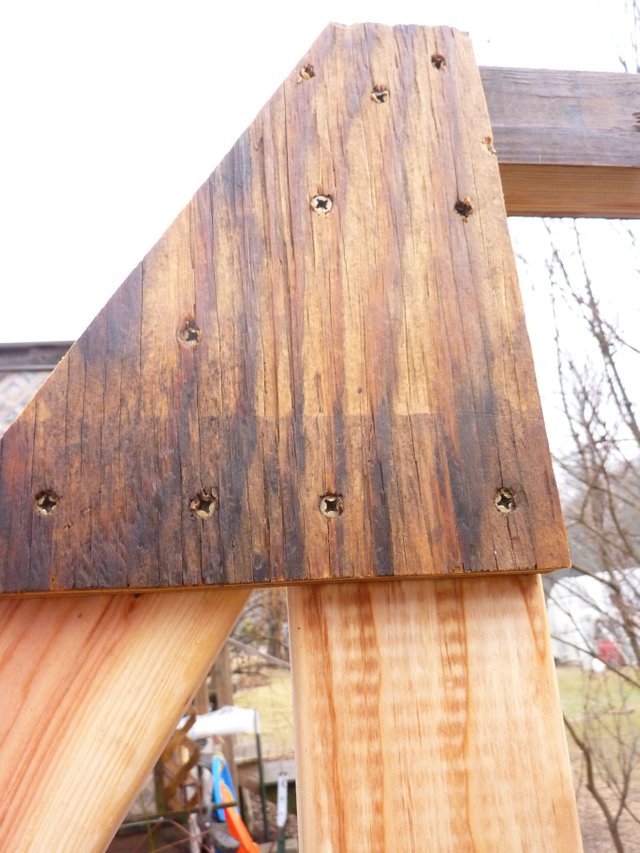
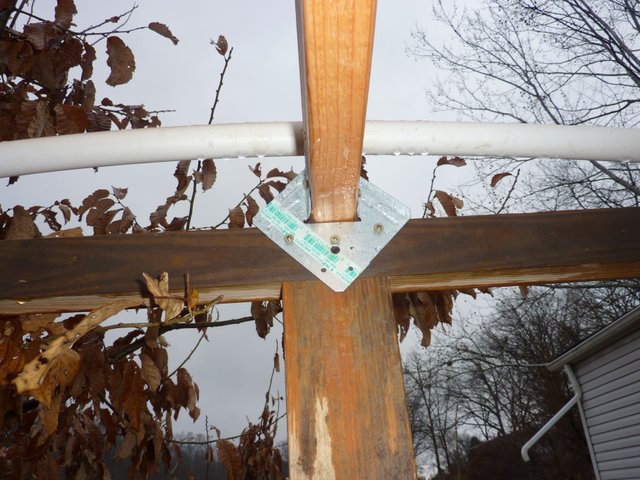
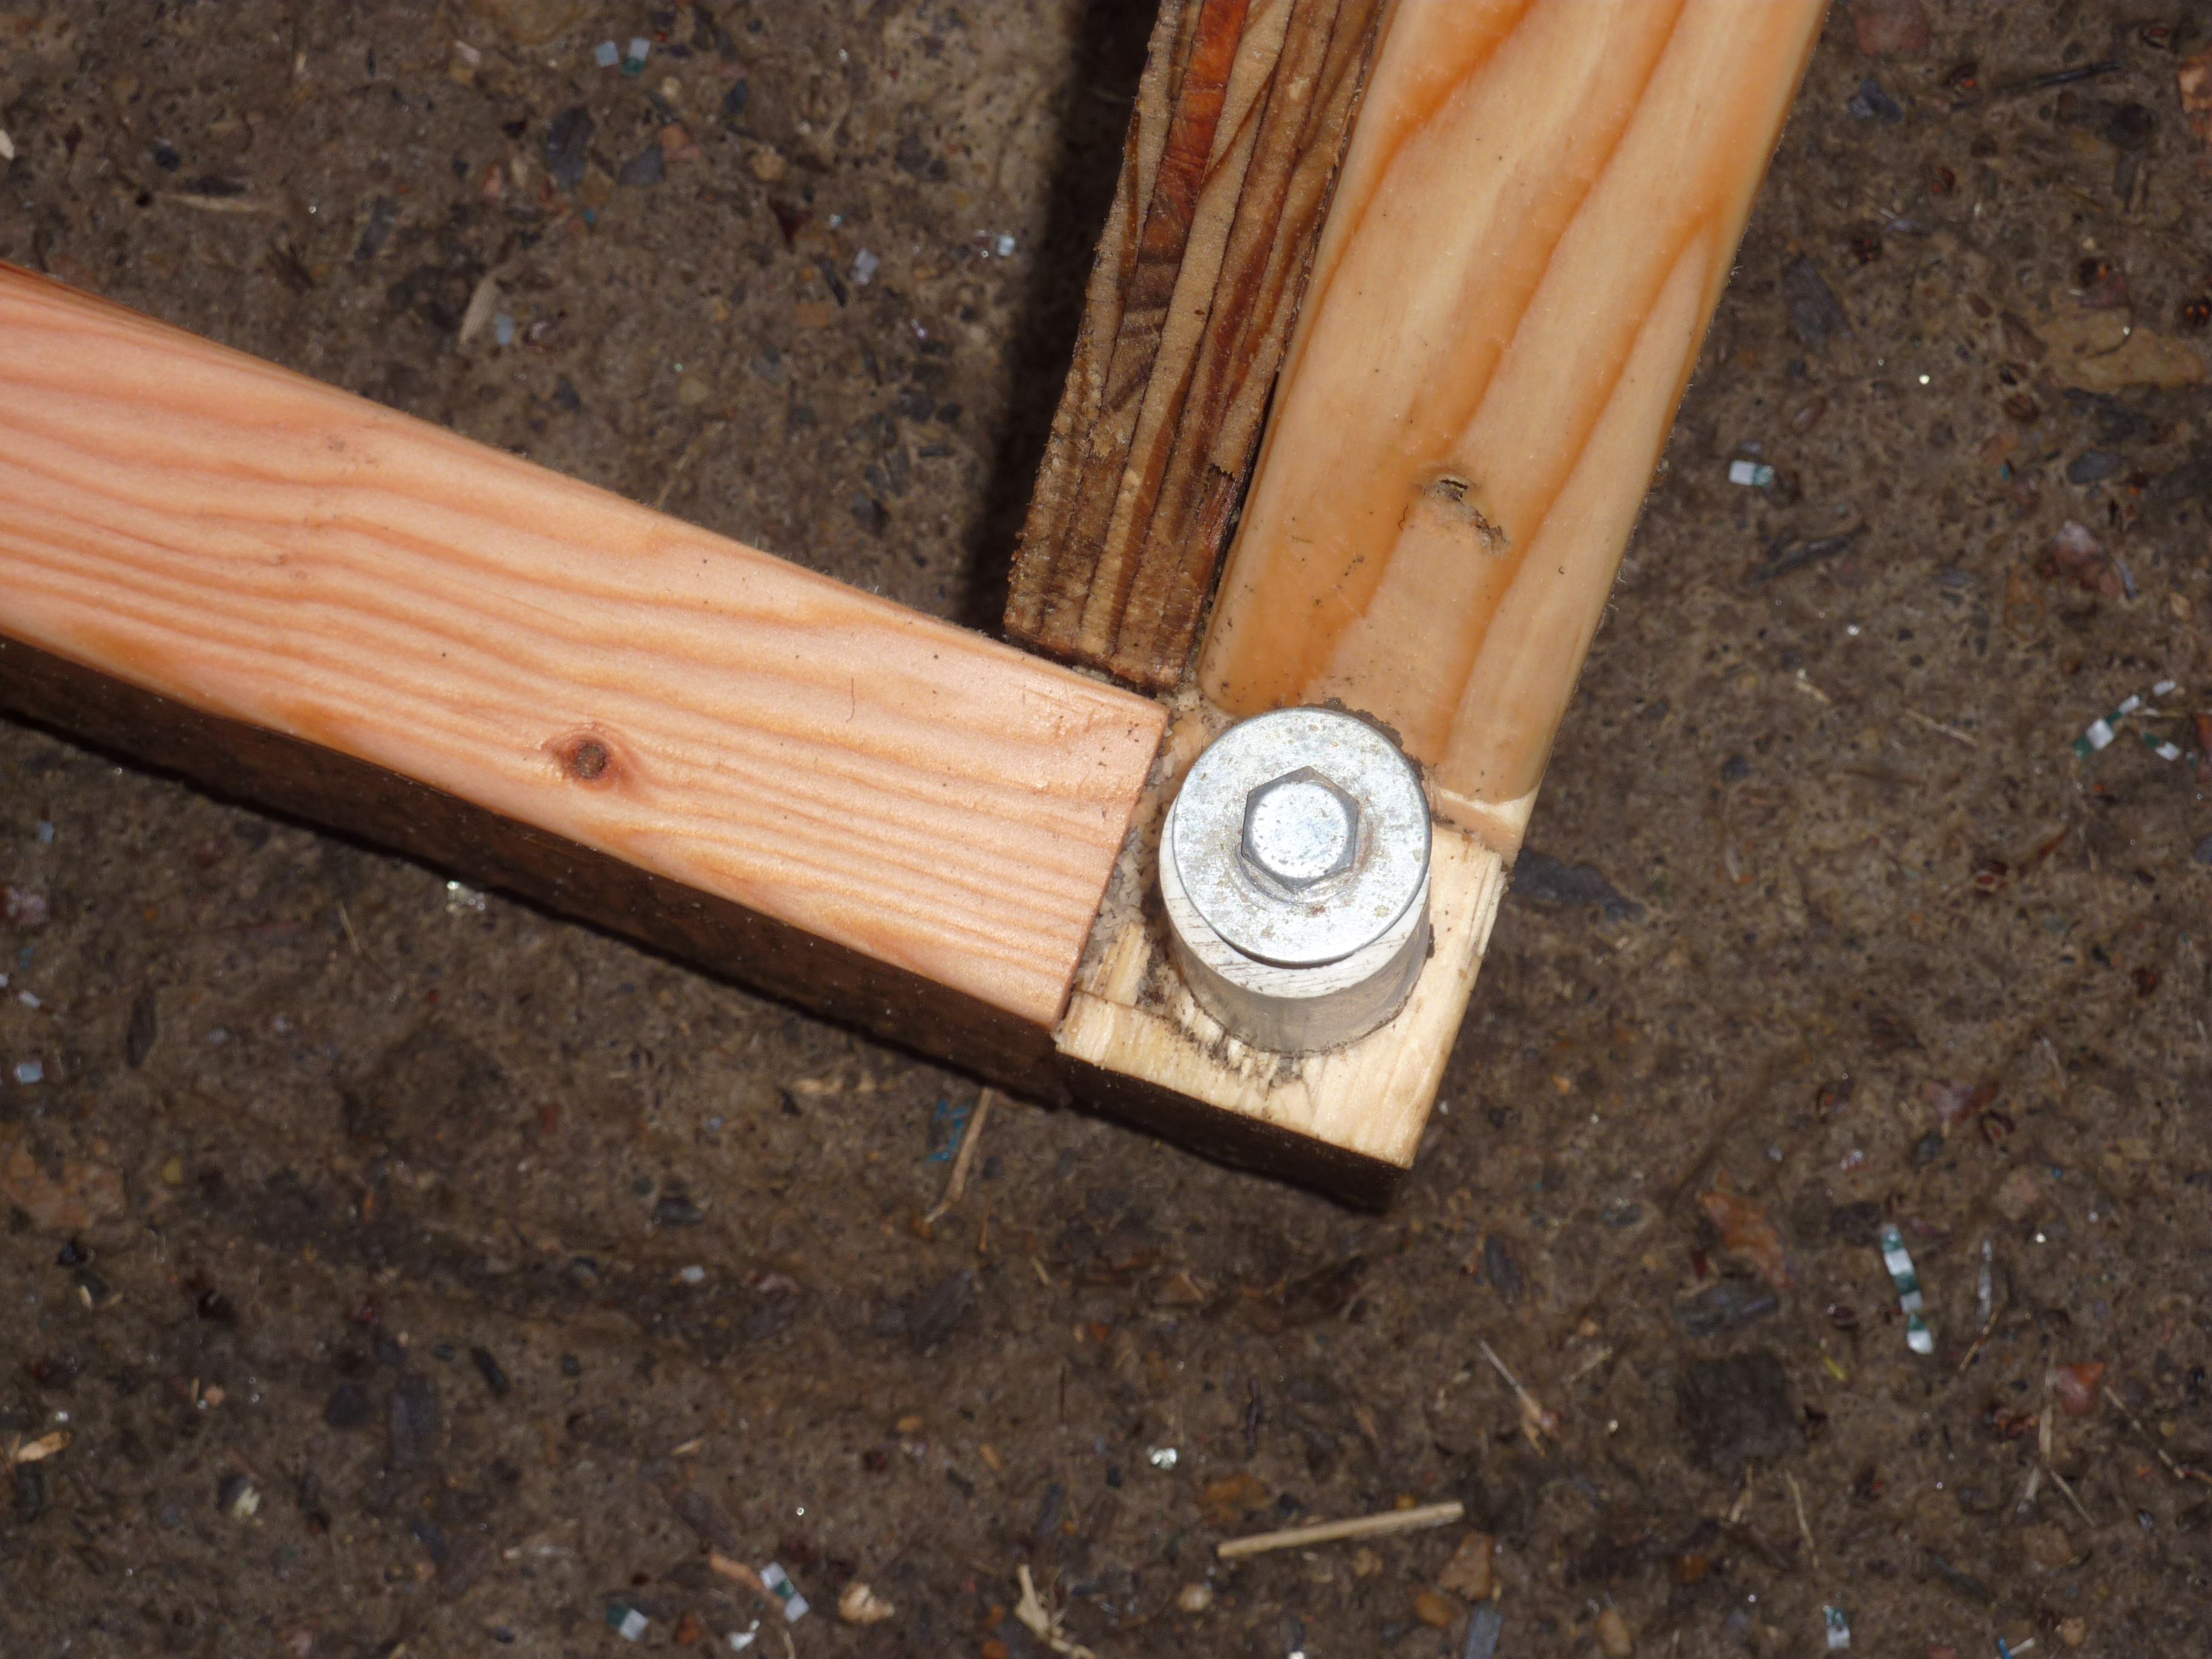
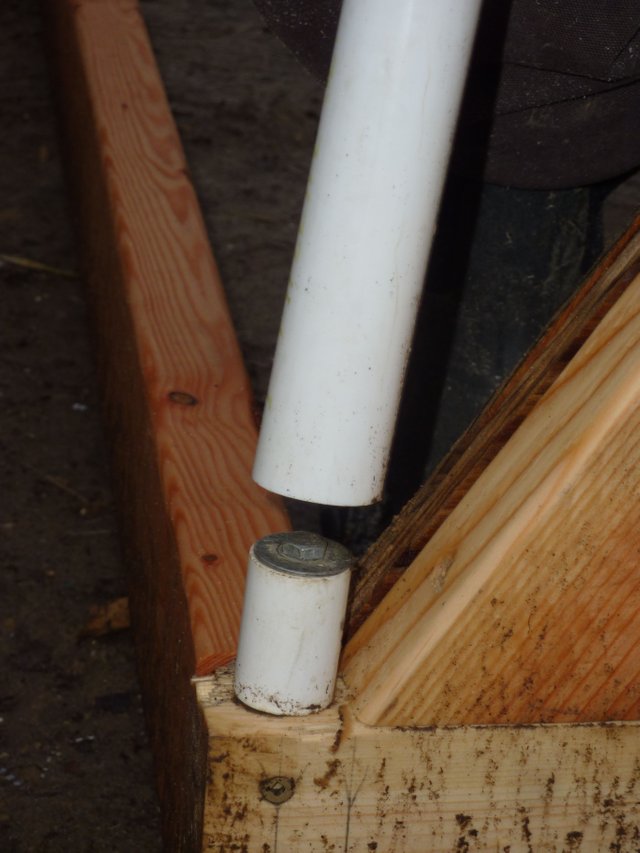
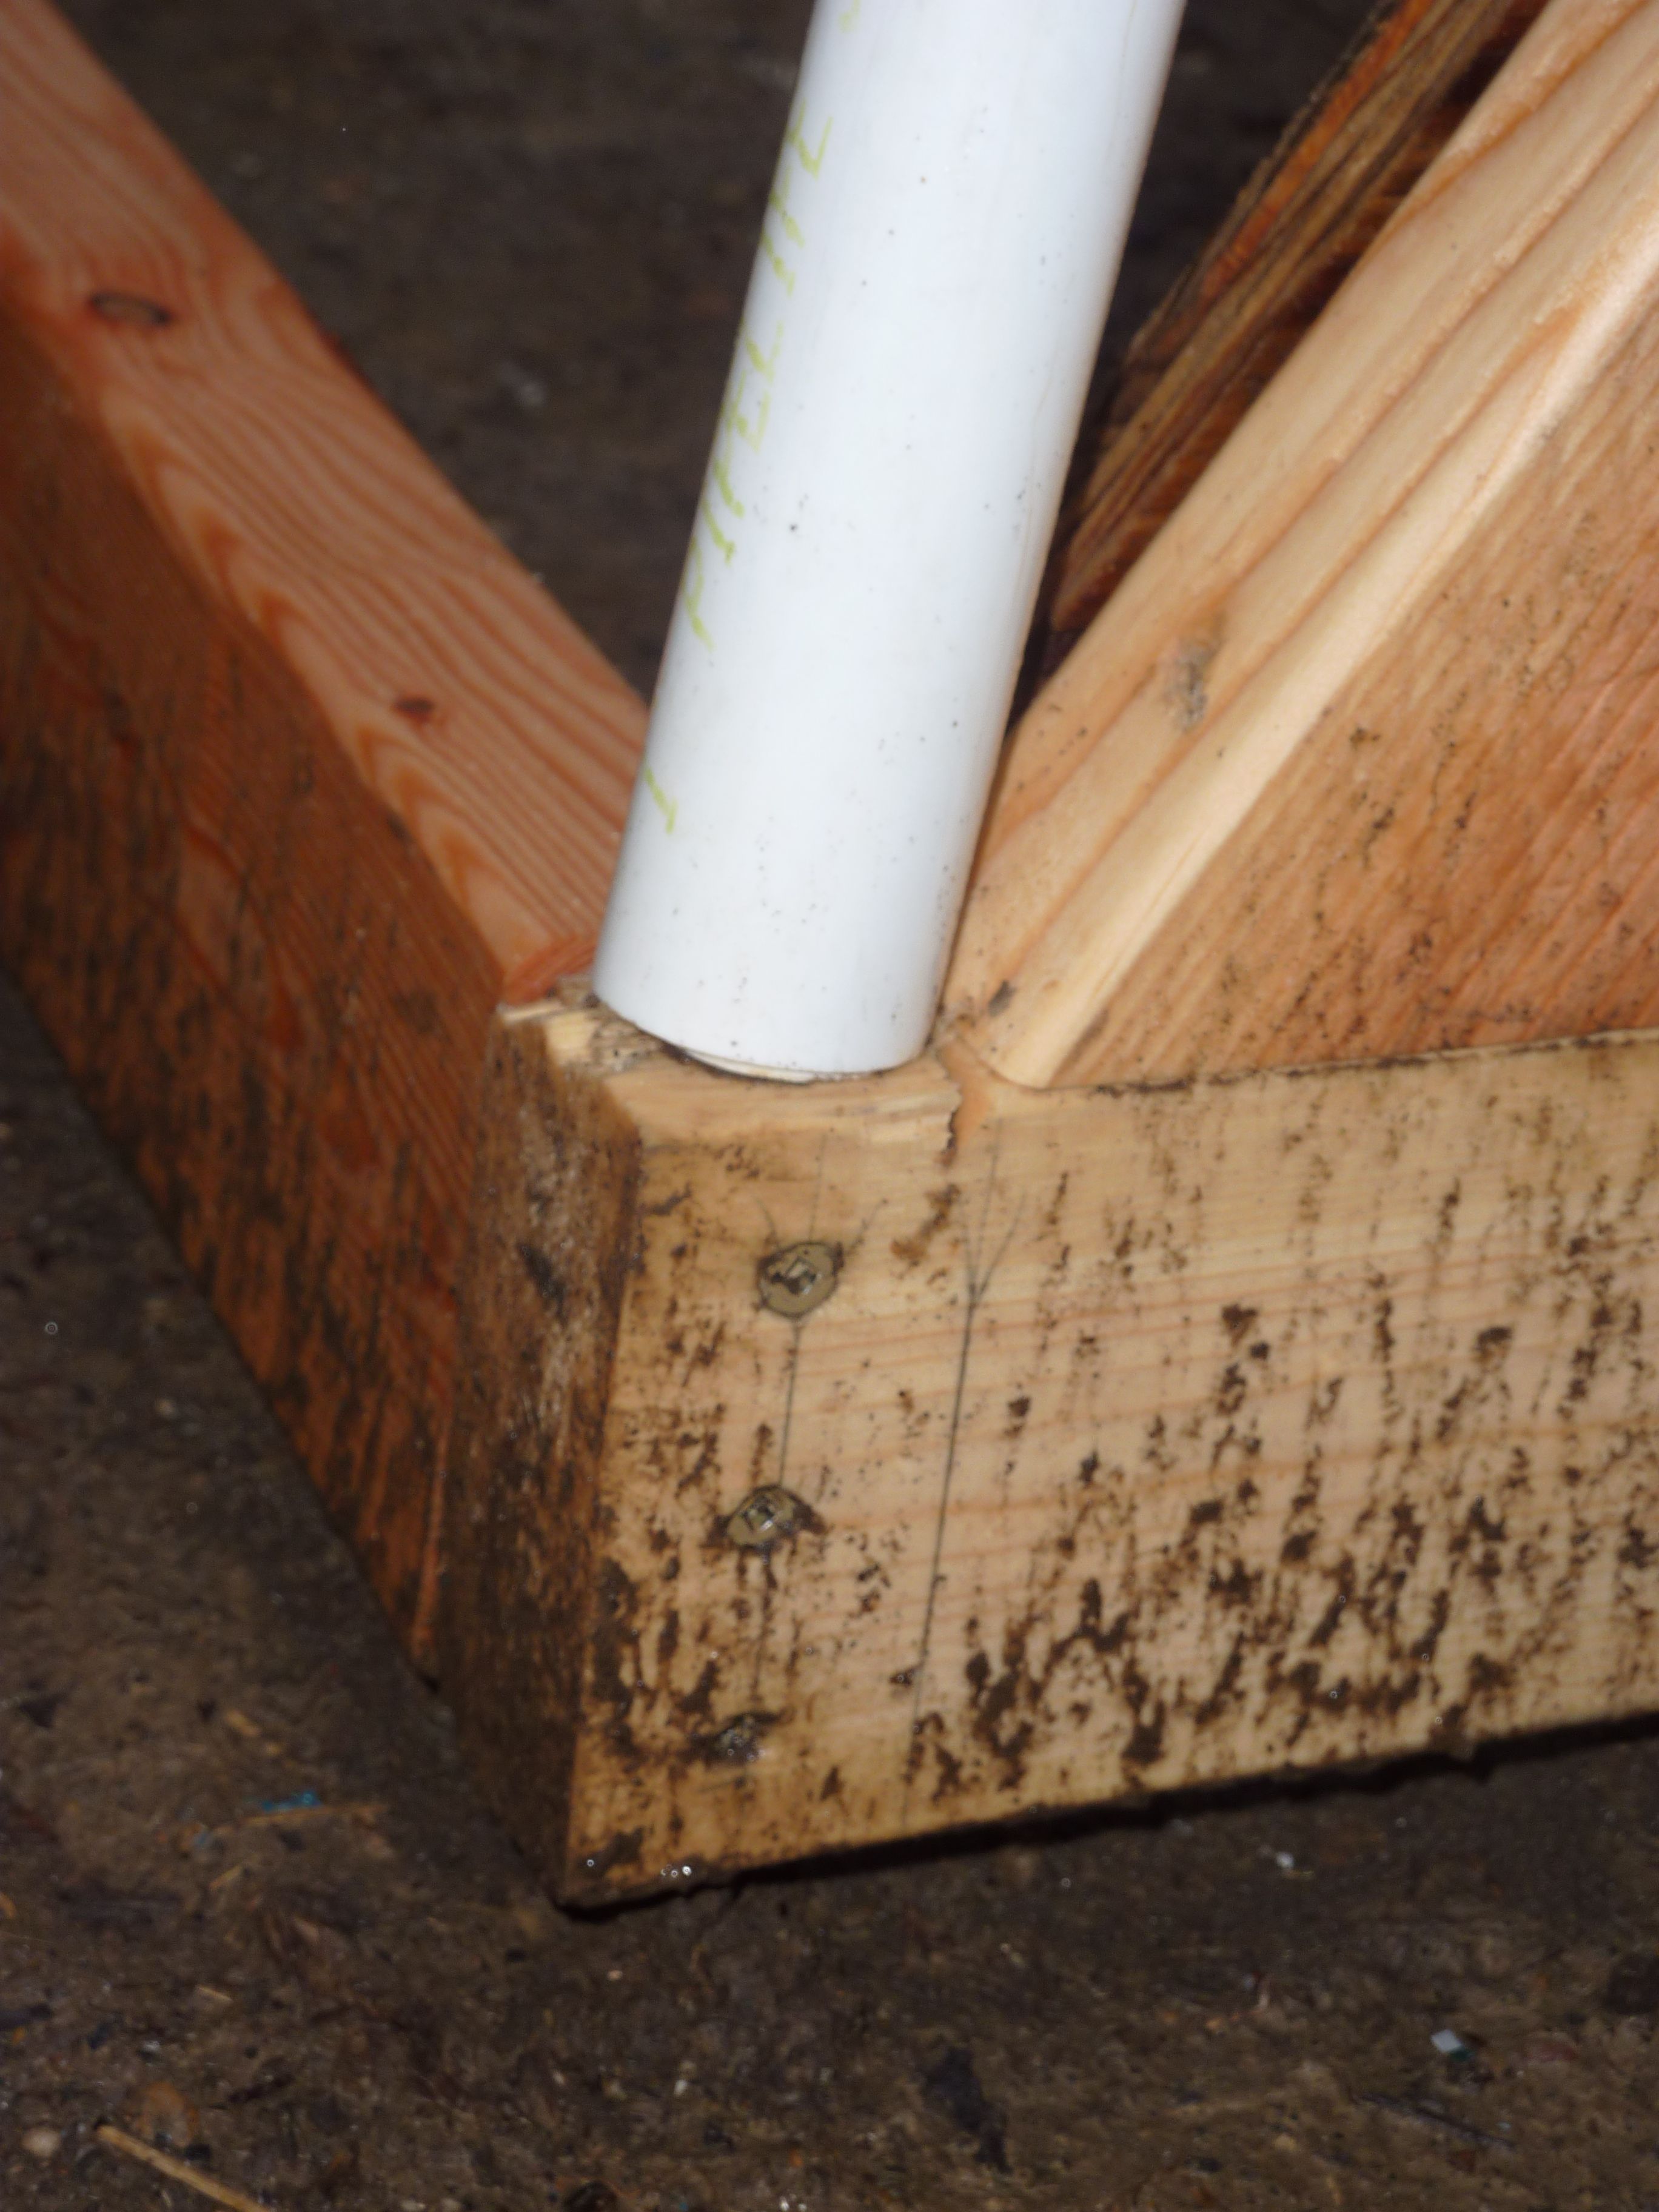
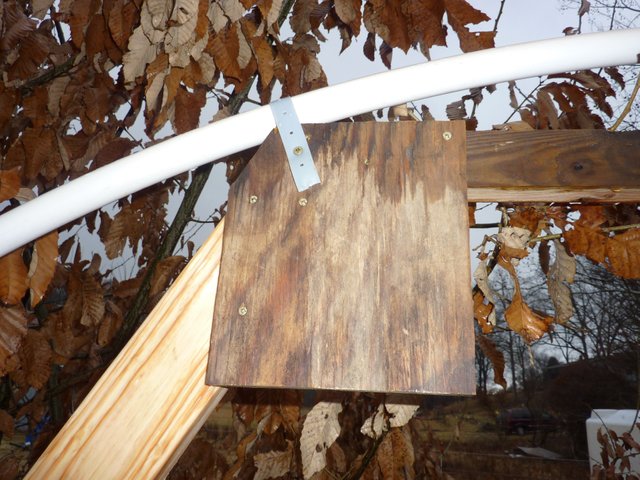
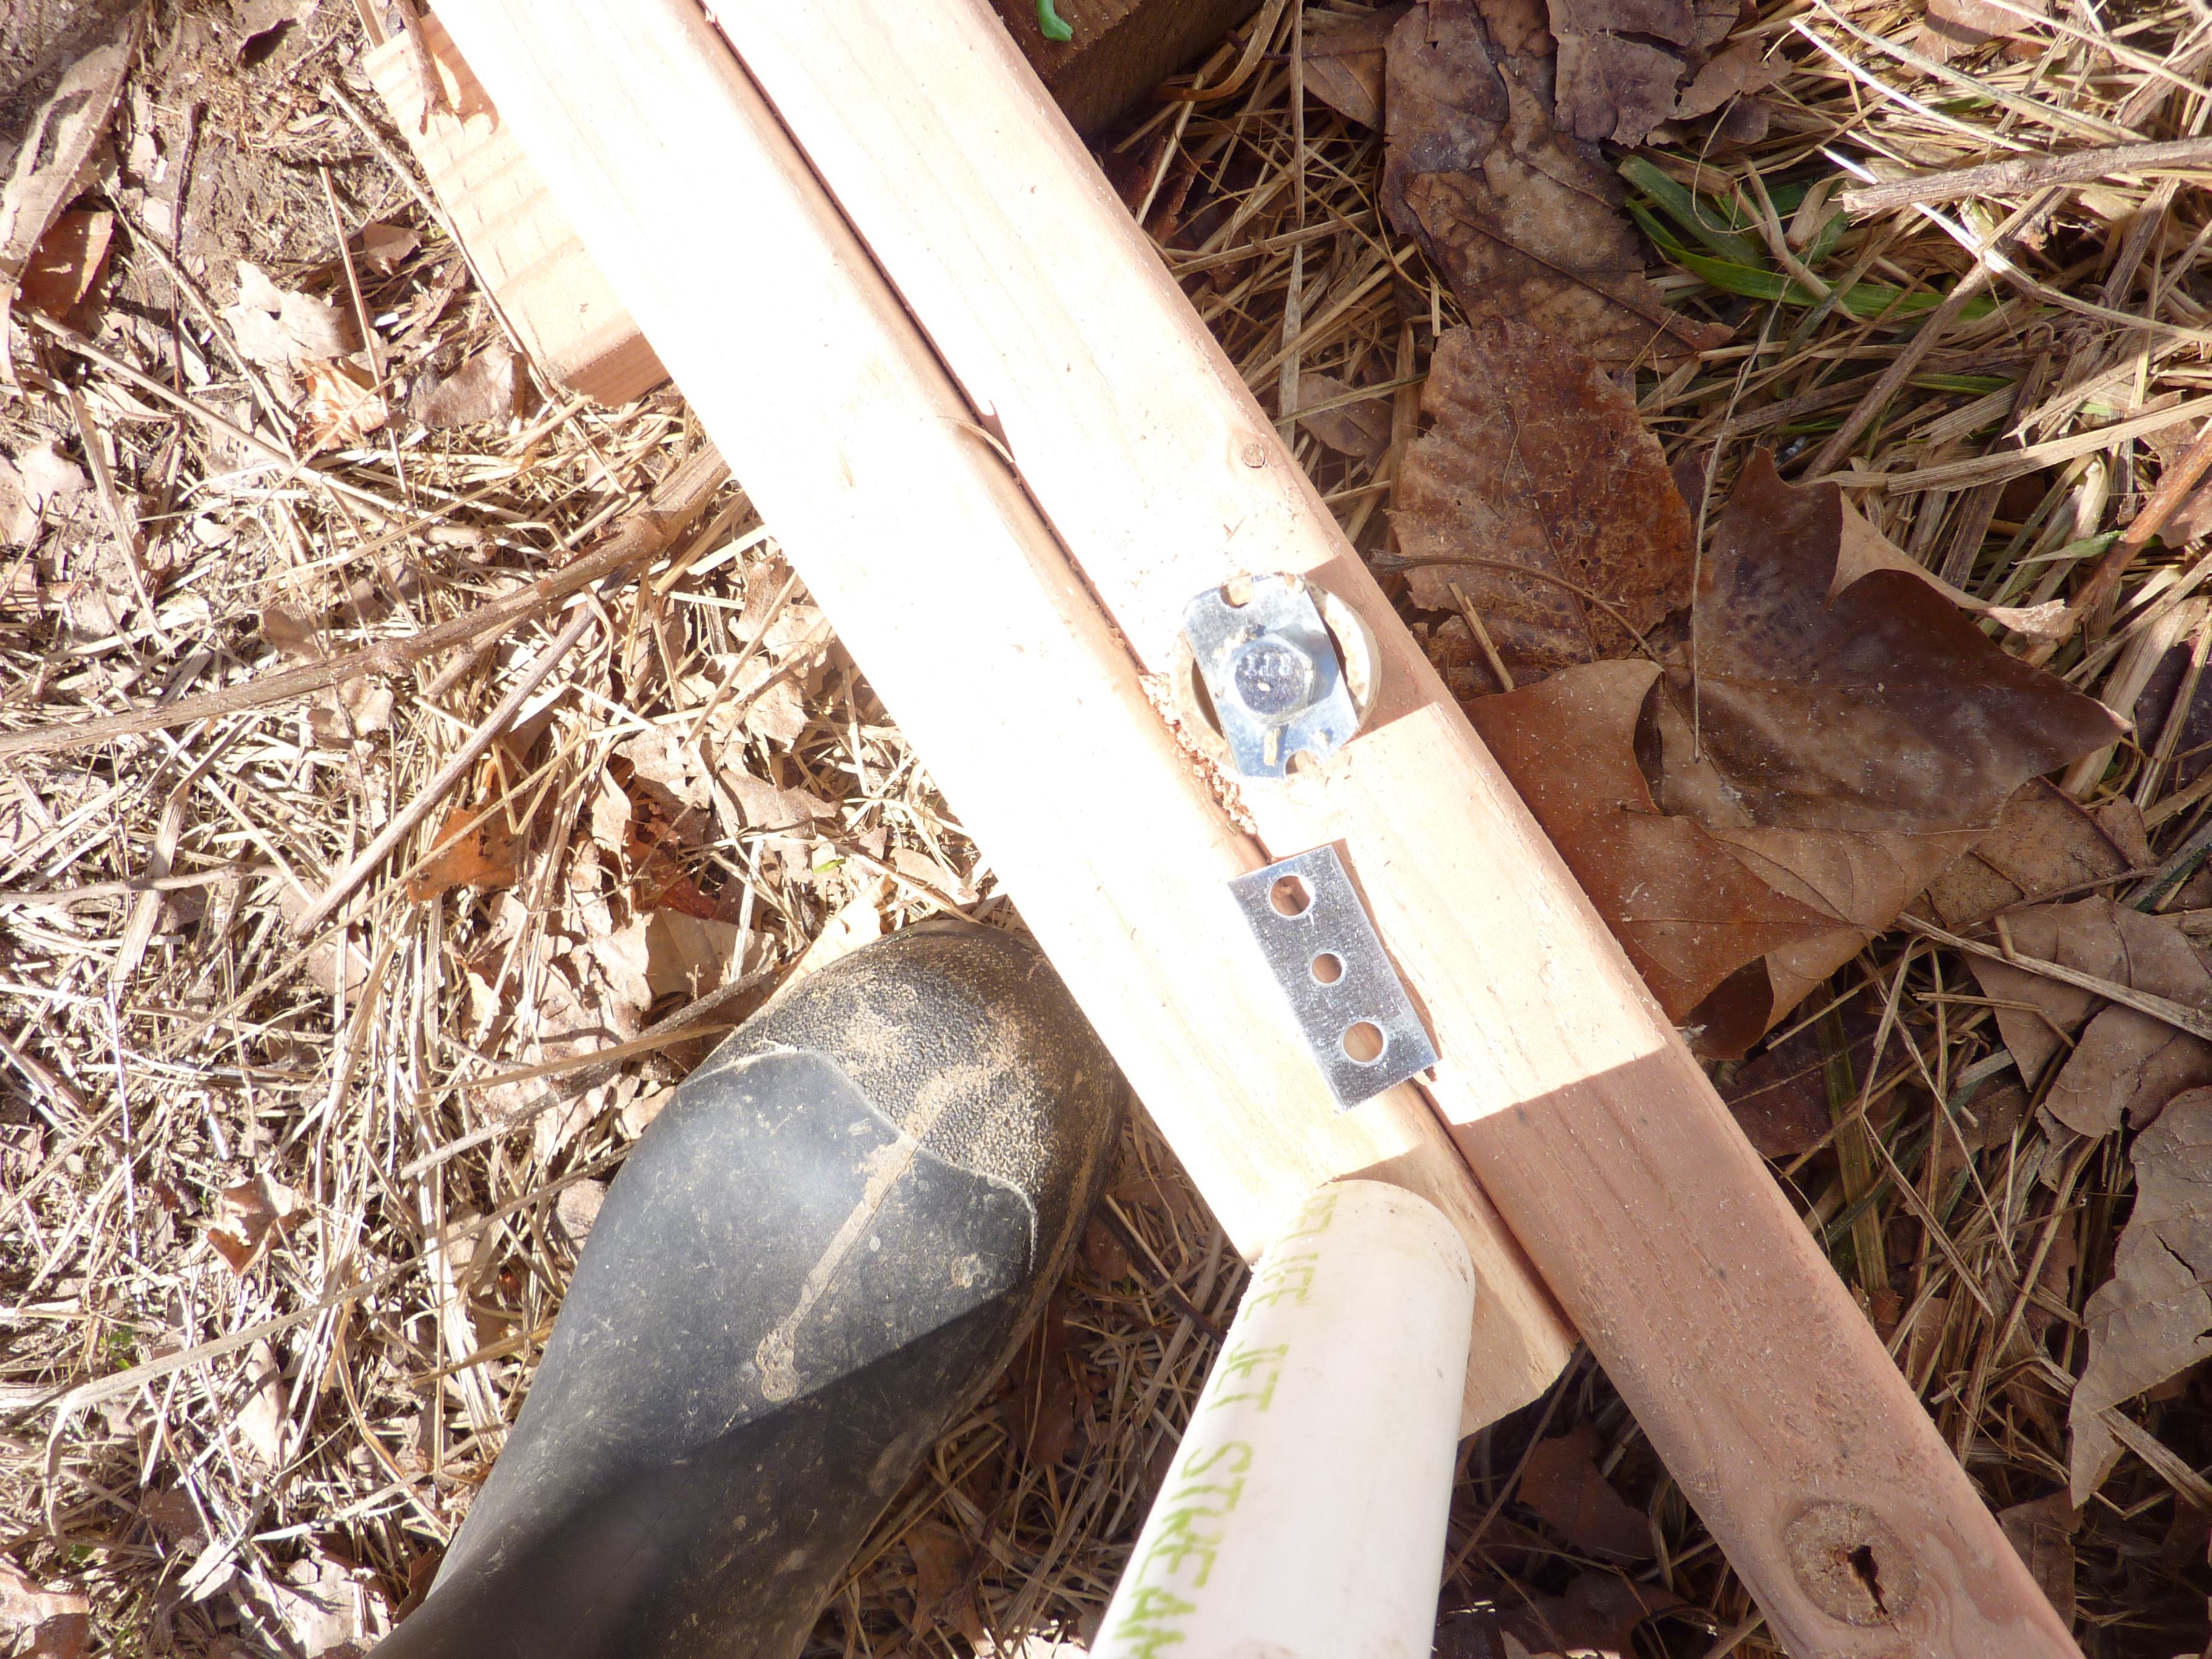
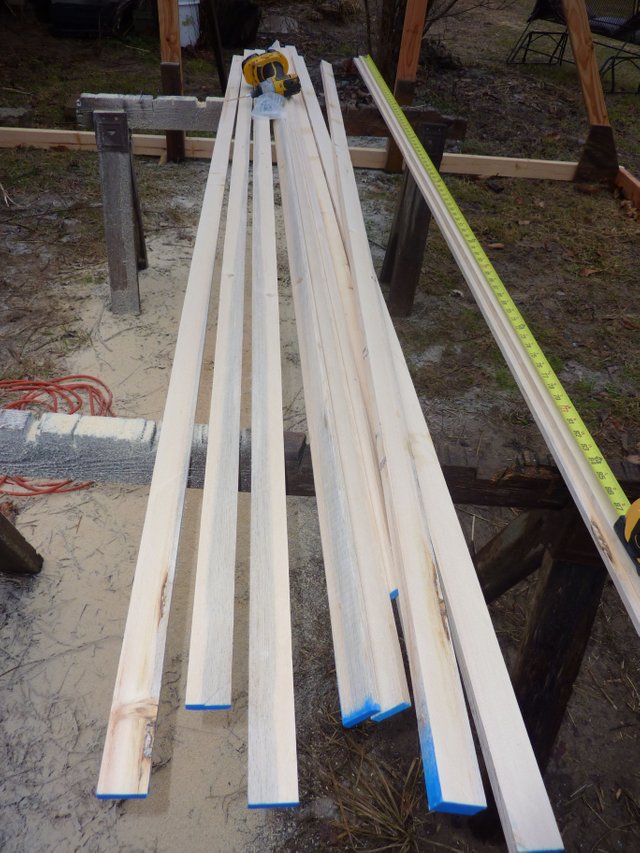
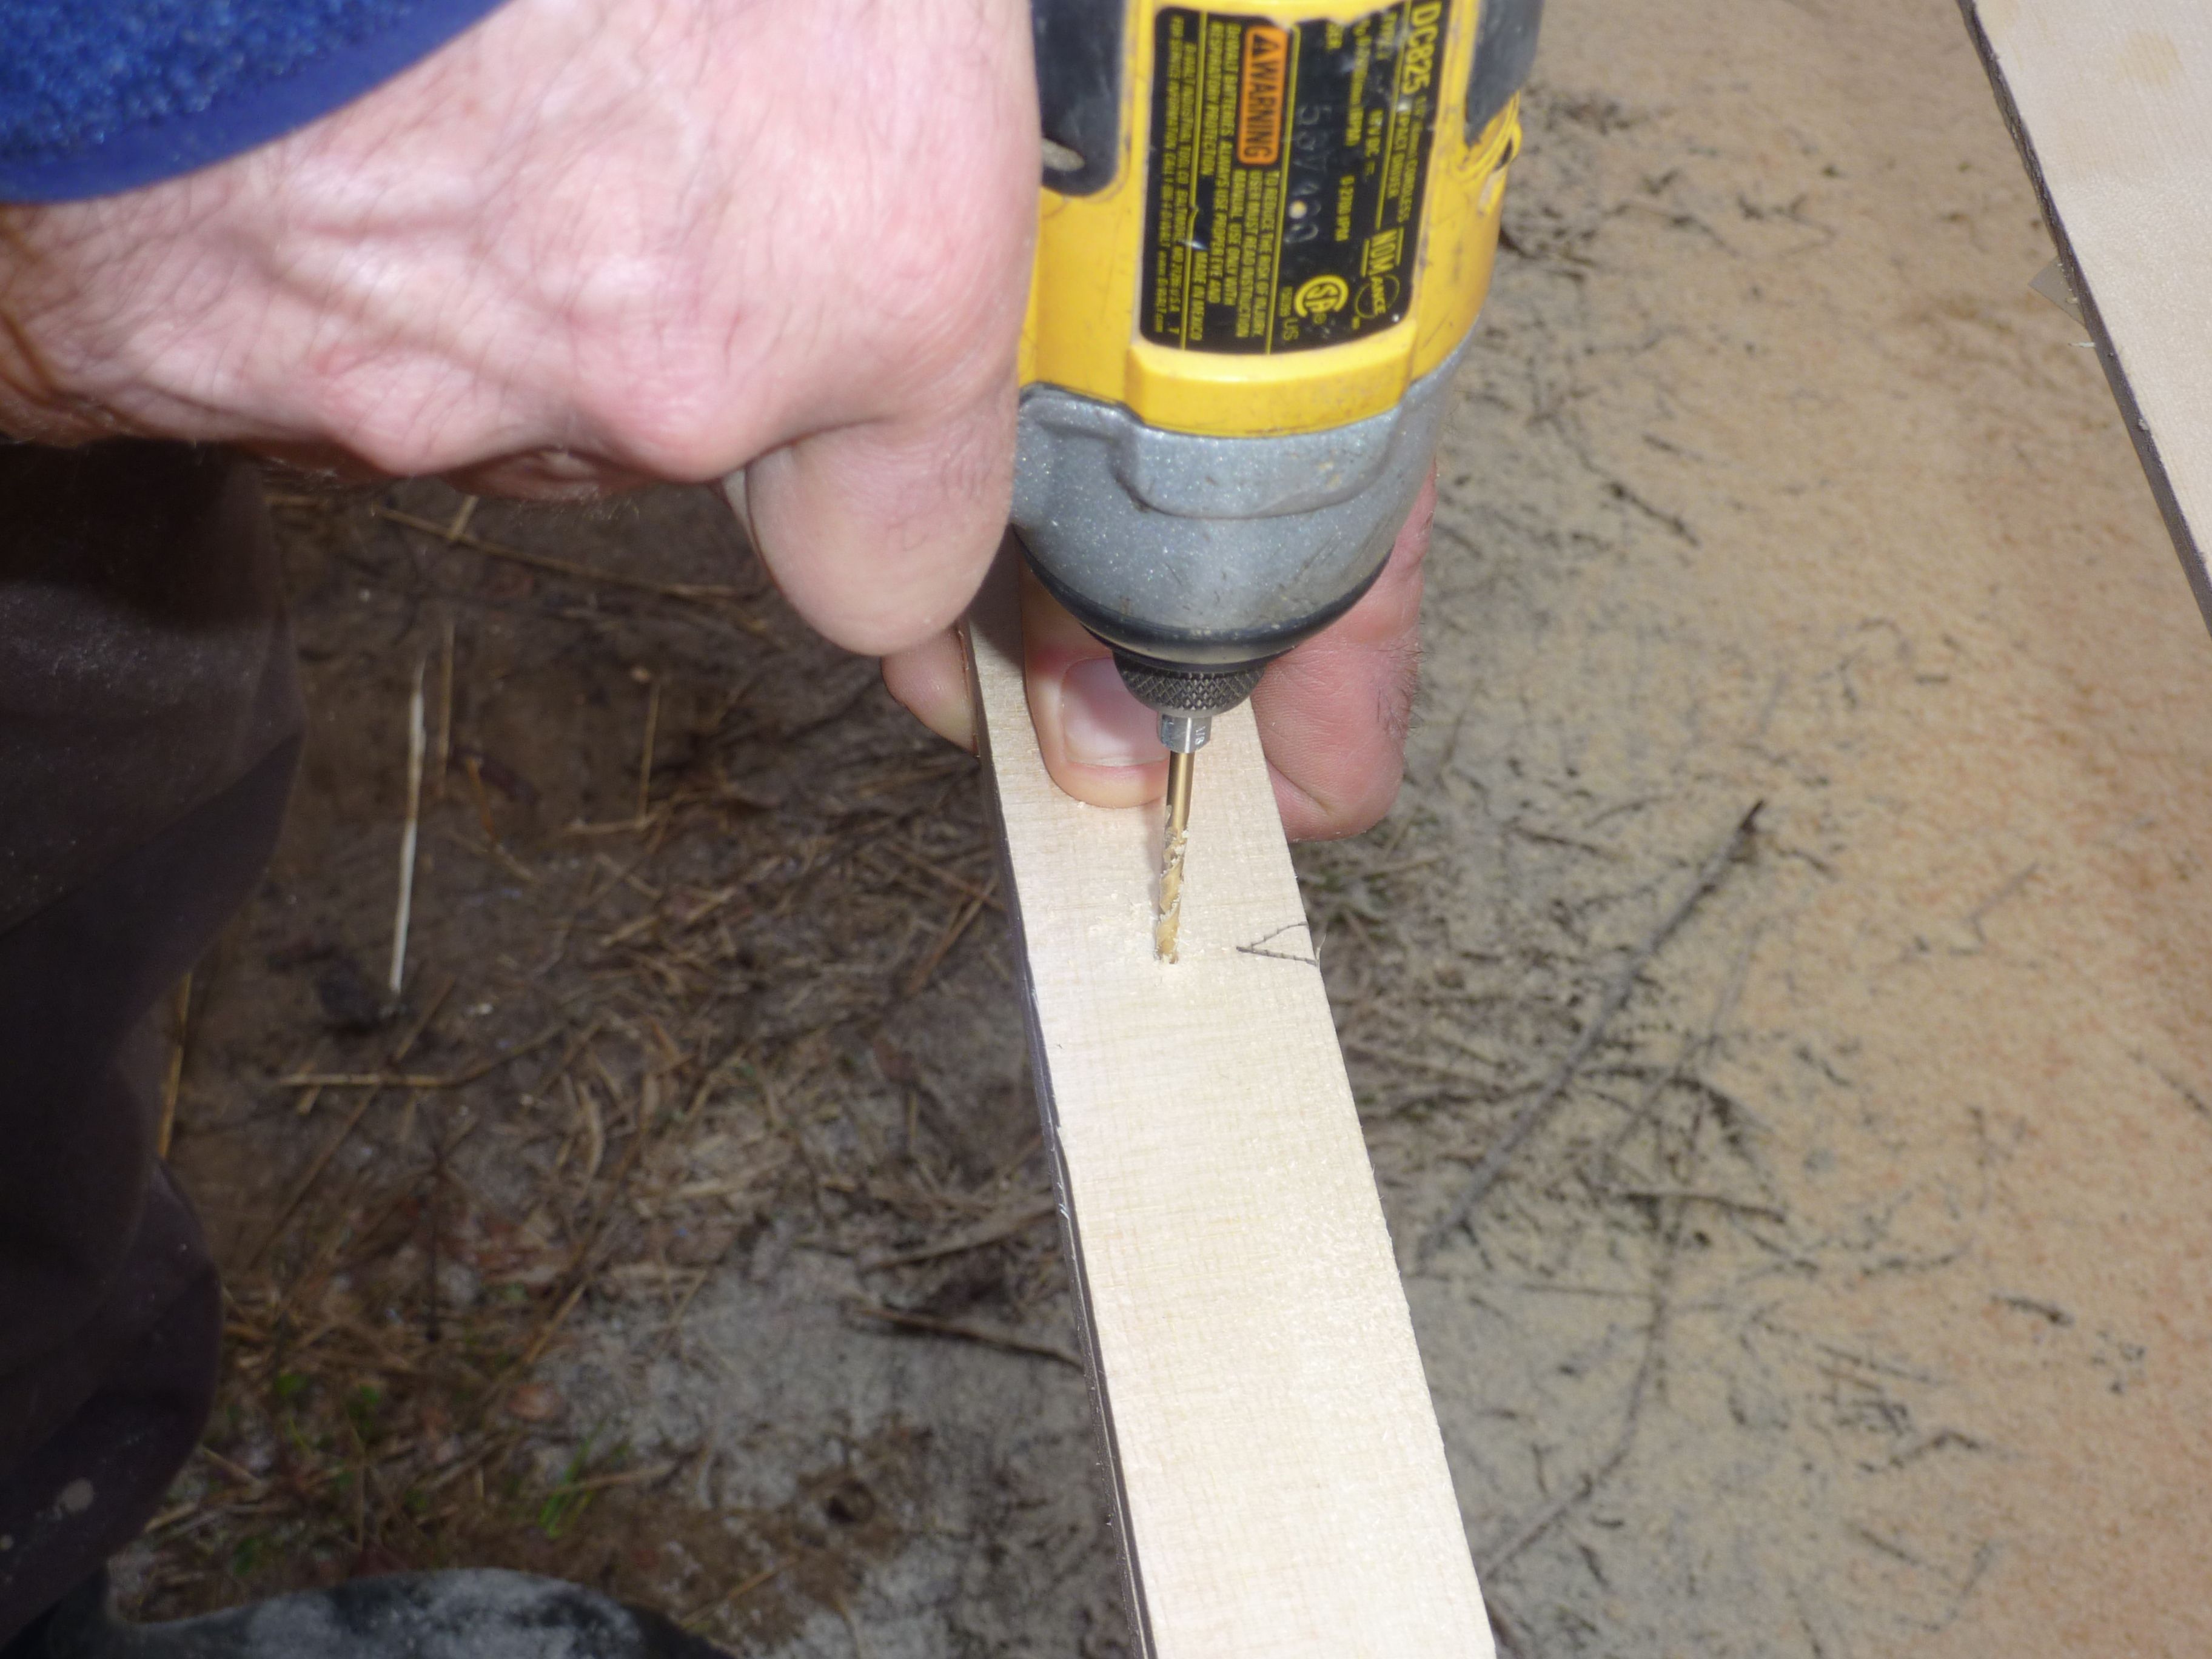
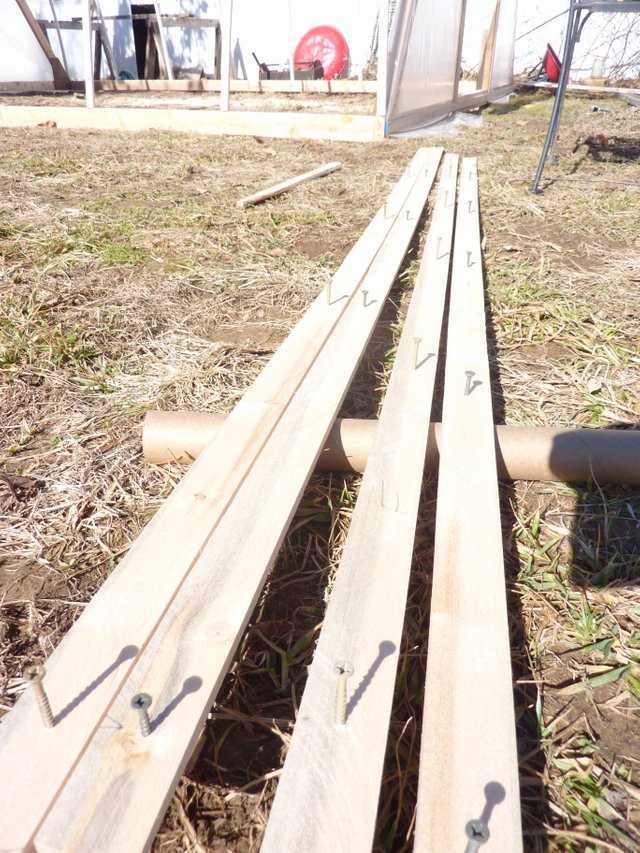
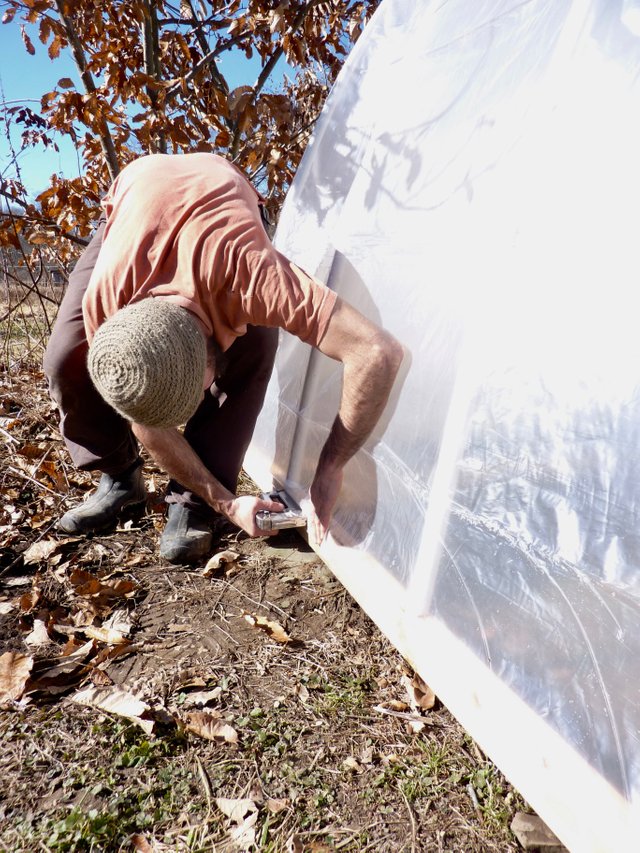
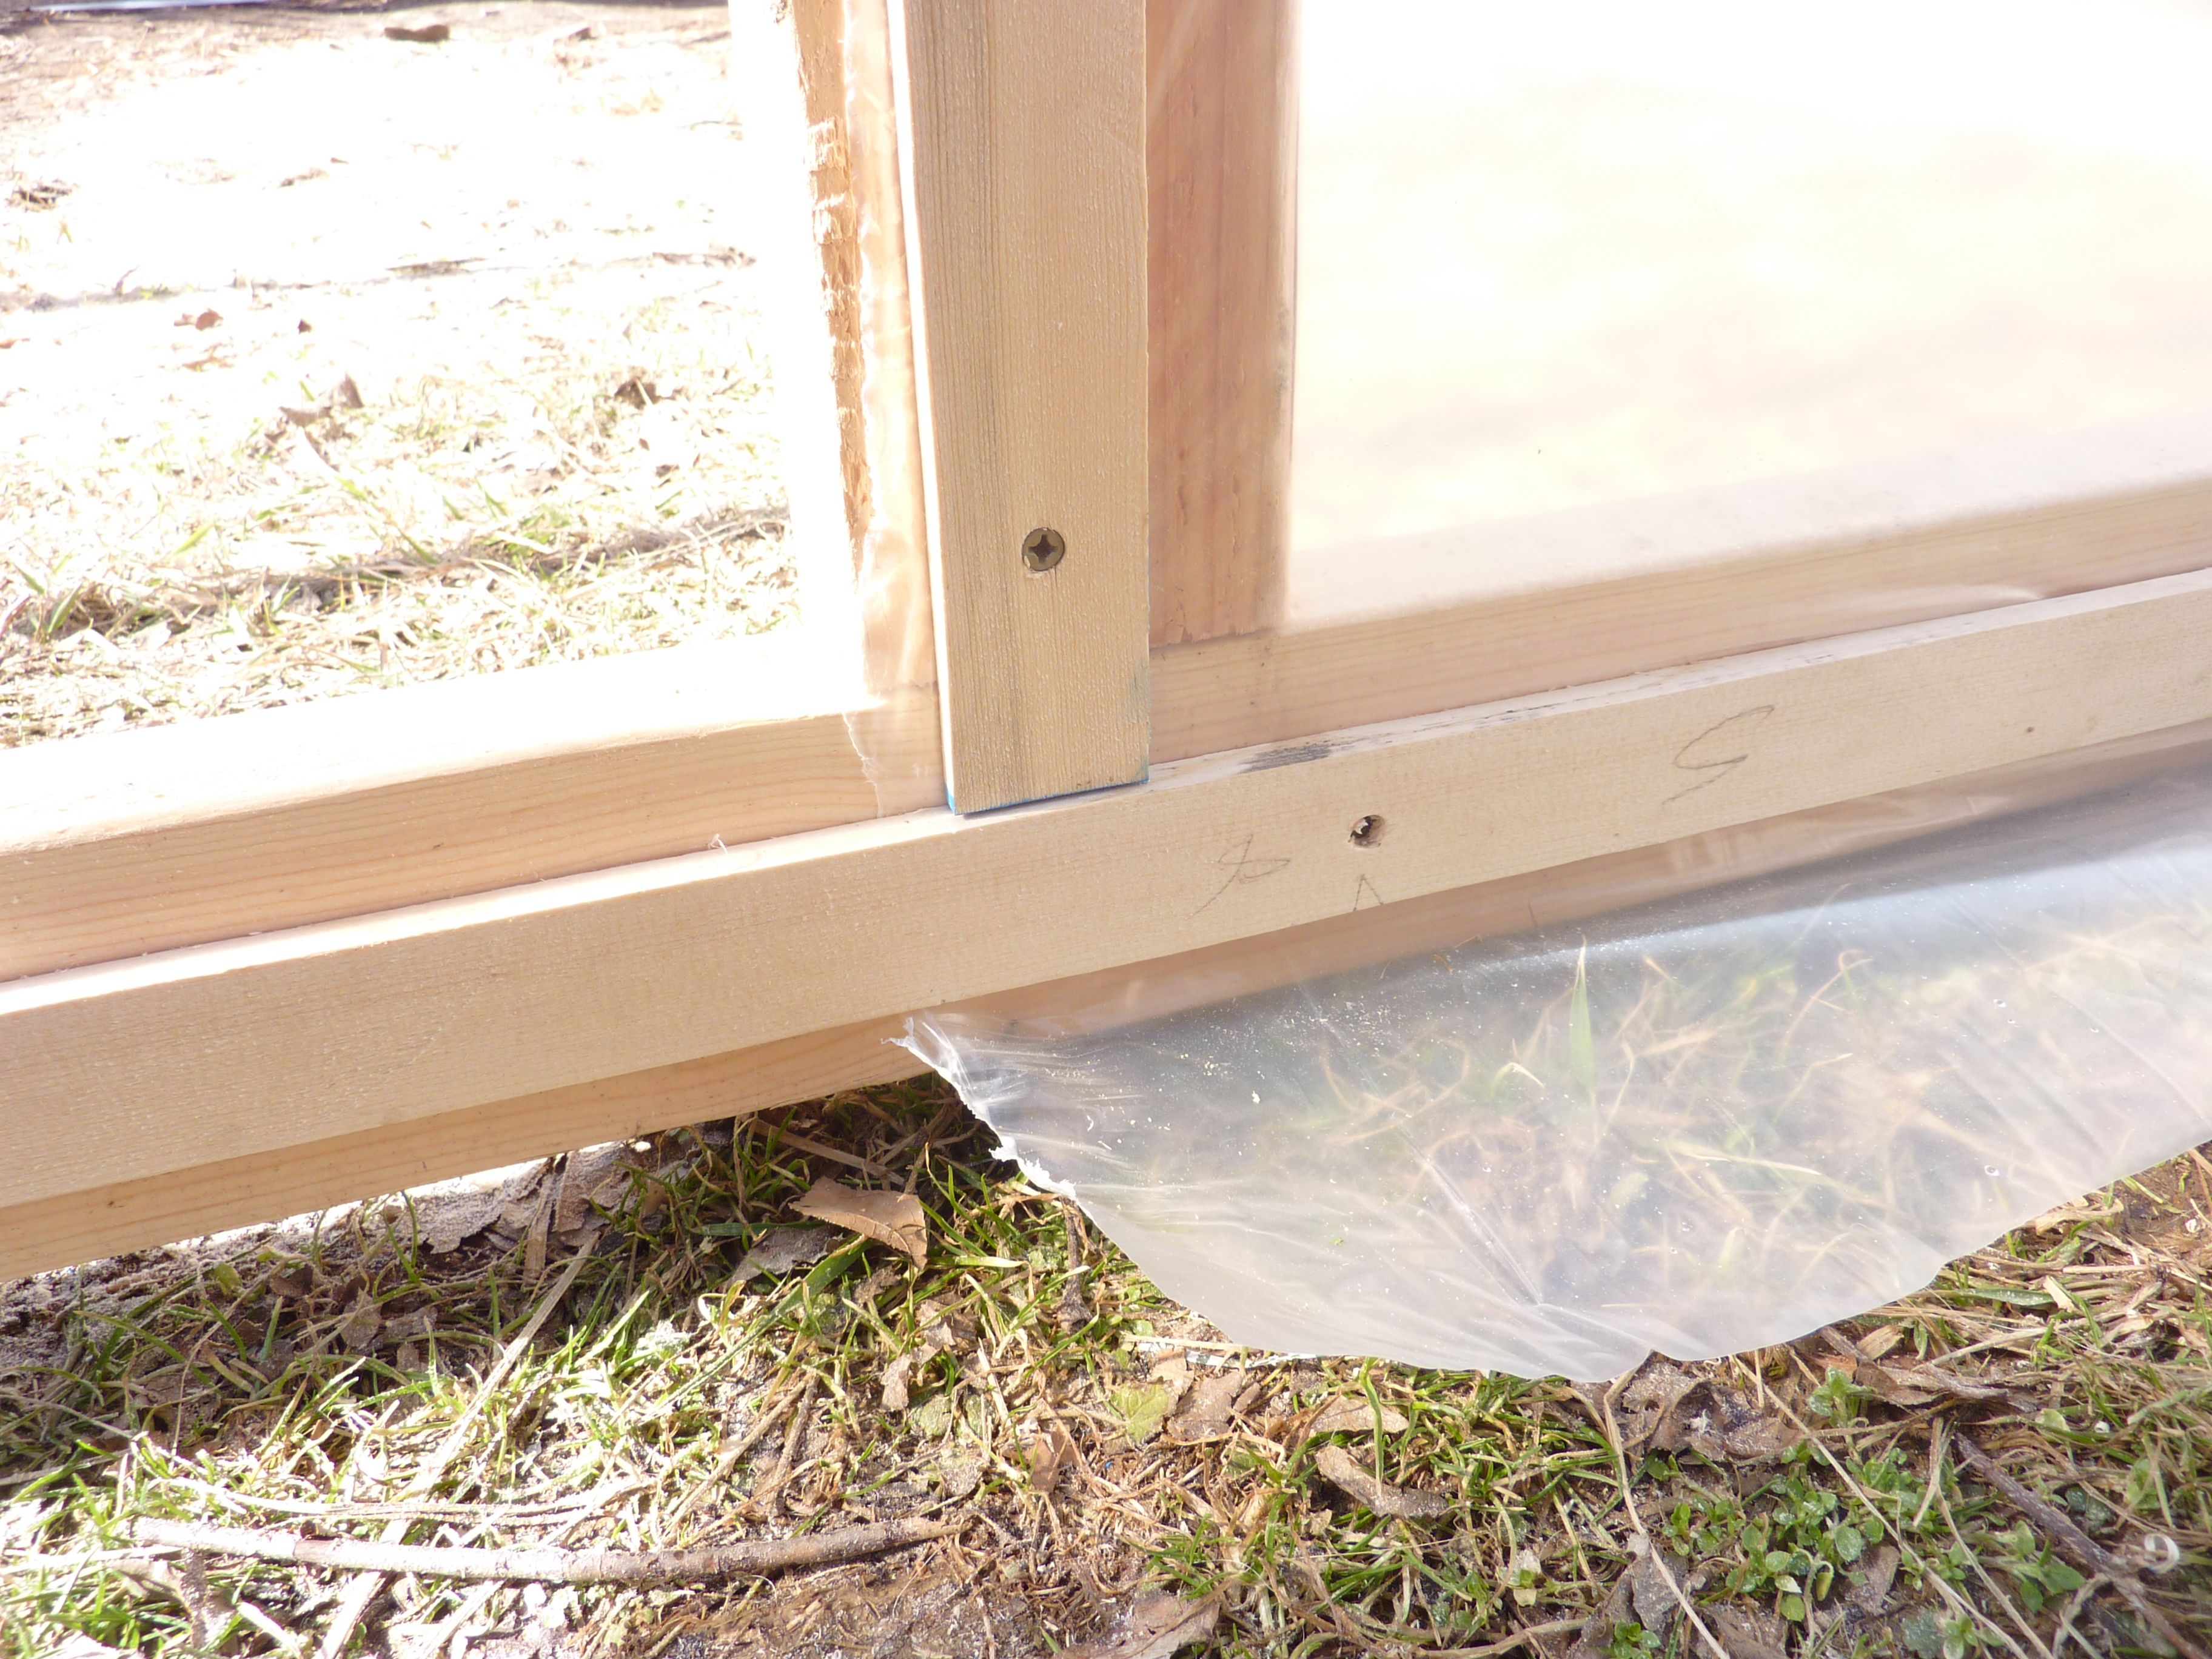
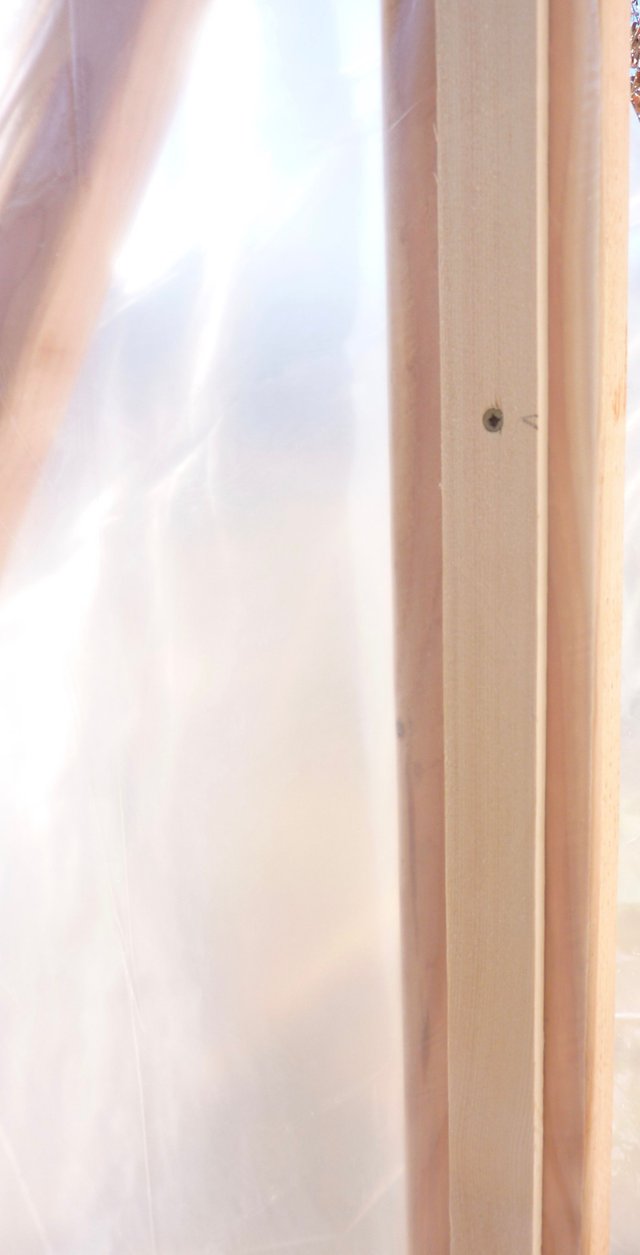
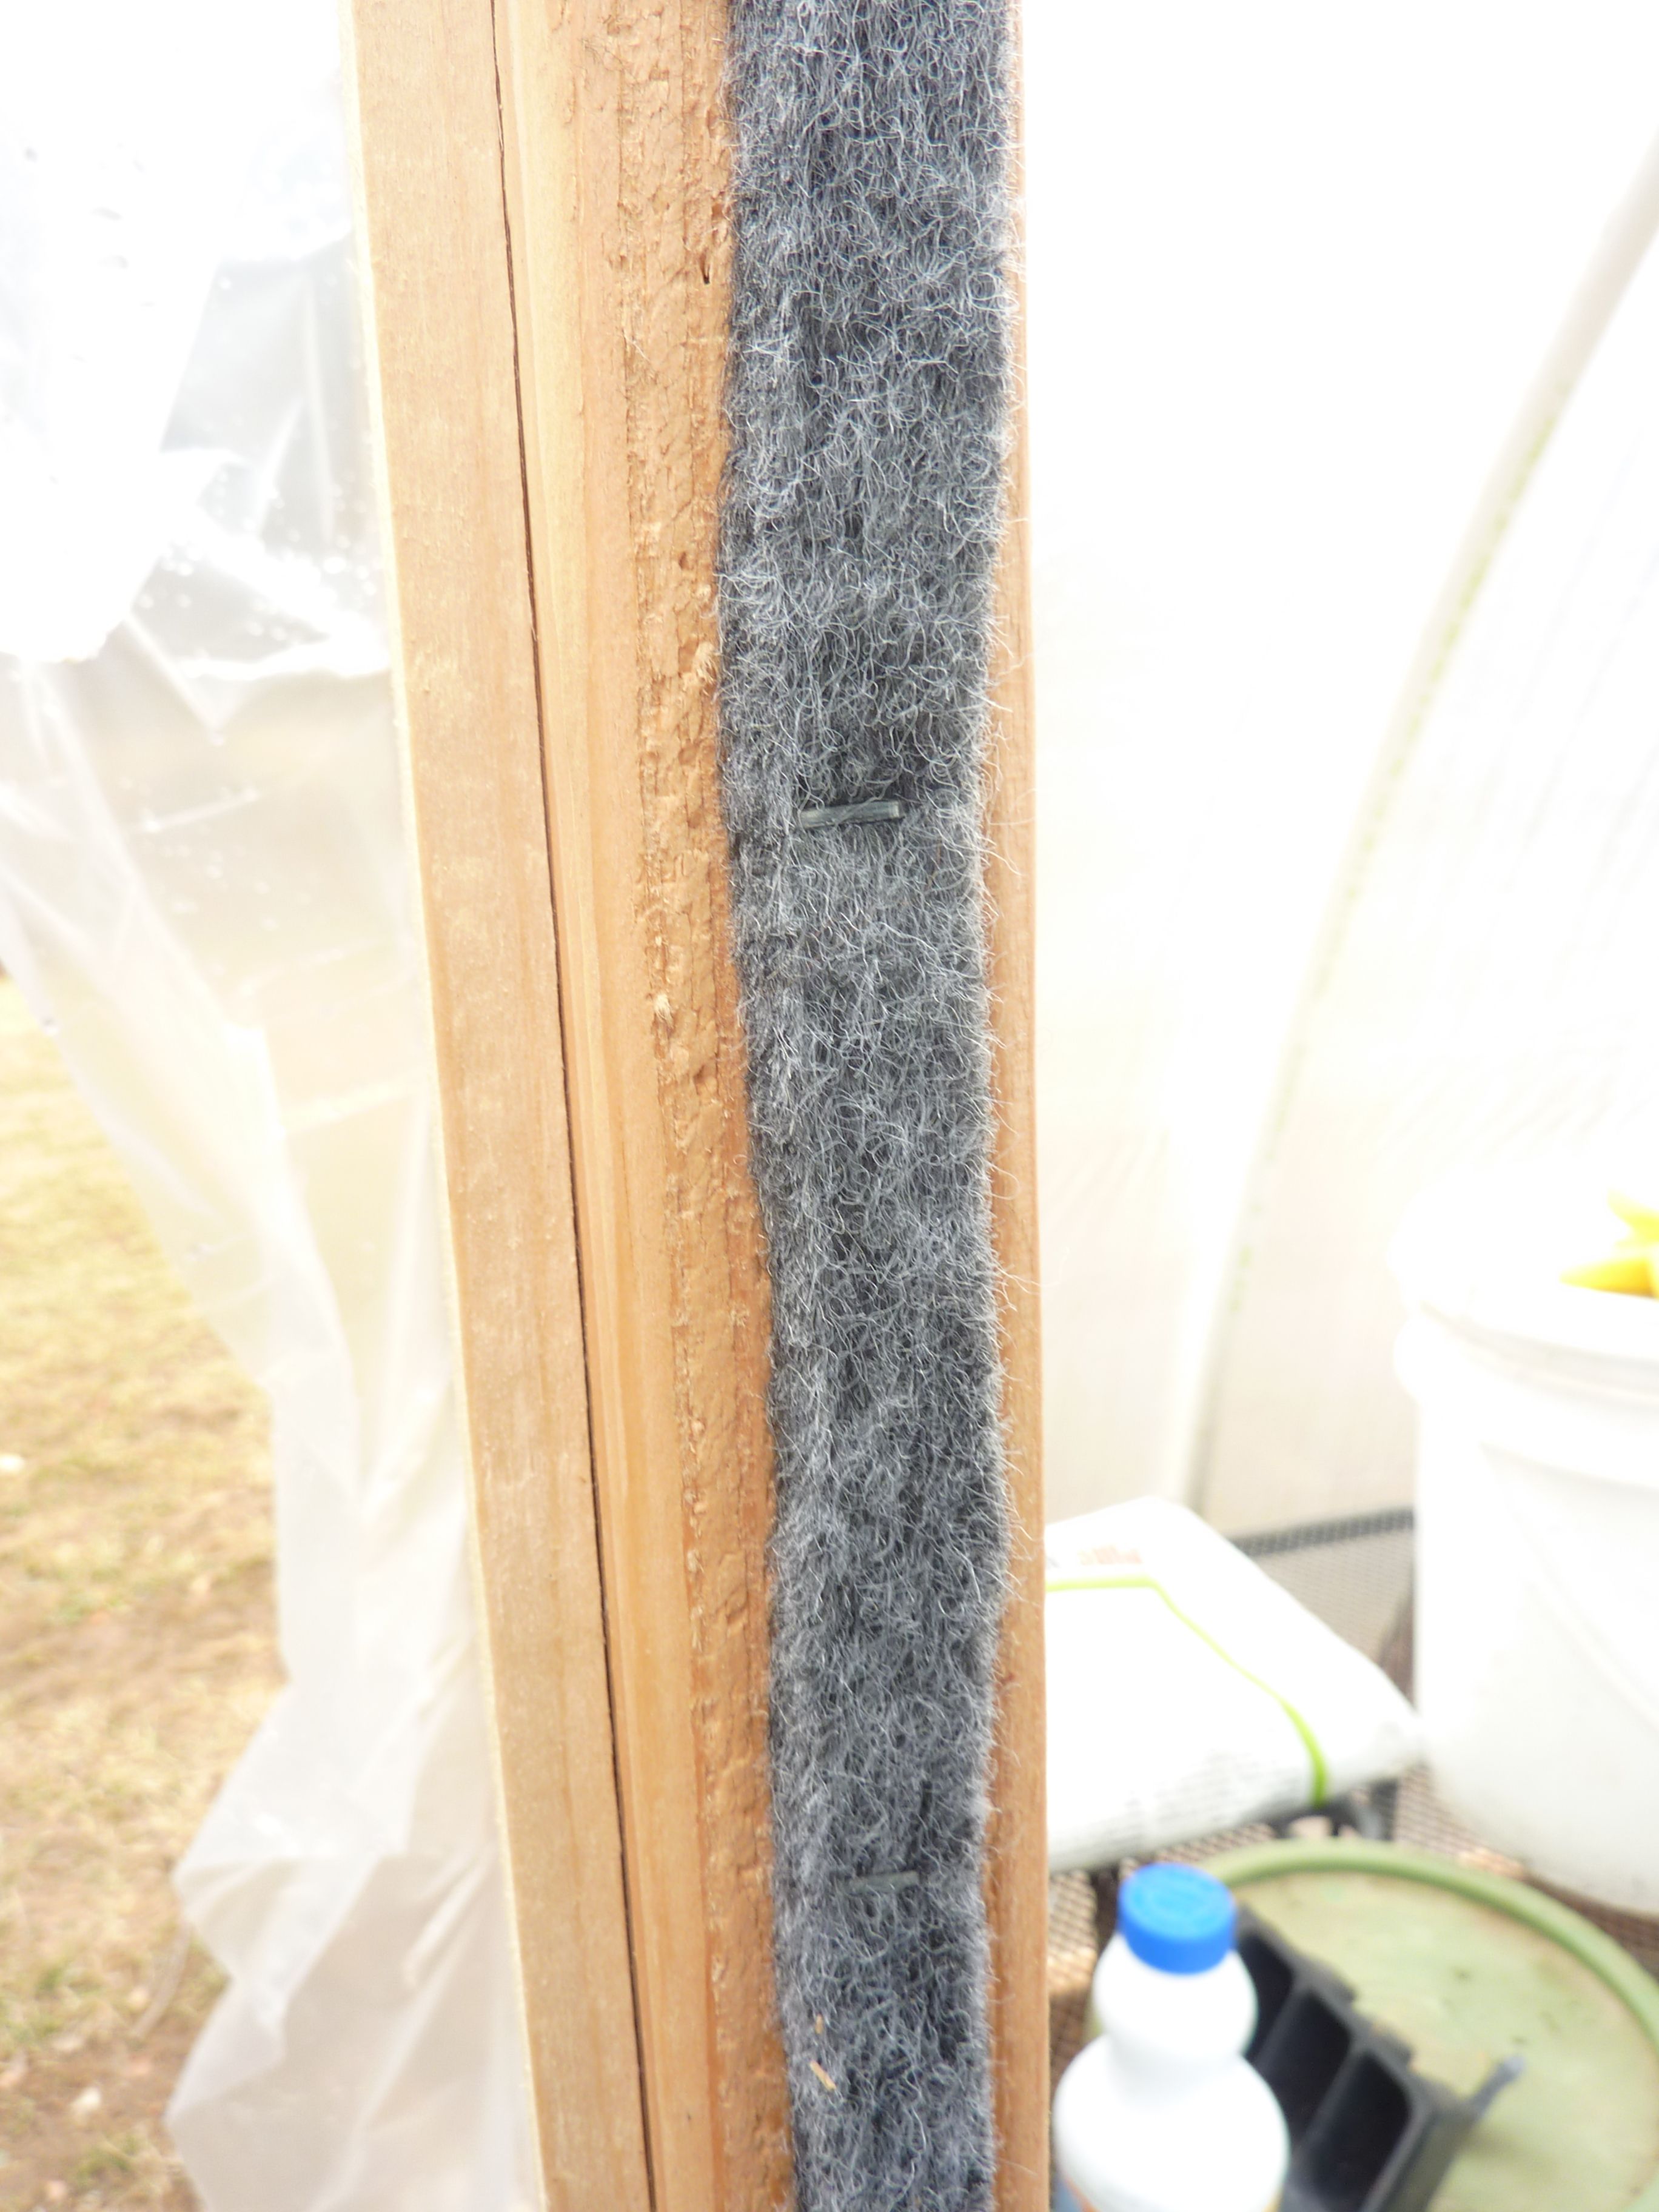
The first step is to build the end walls using 8' 2x4's with a 12' long baseboard. We had a leftover greenhouse door he had built last year, so he built one of the end walls with a door frame to fit that door. One of the end walls will be your back wall and one of them will be the "front" of your greenhouse, and will need a door frame. You can use any old door you might have laying around, and build your door frame to fit it, or you can build that end wall with a custom door frame and then build the greenhouse door to fit it. (It is helpful to be able to fit a wheel barrow through!)
This is an excellent form of season extension. Keep in mind, if you get cold weather in late winter and early spring you can use a space heater and agri-cloth to protect your seedlings.
This tunnel cost us just a little over $100 (in 2017), can't beat that!
*** EDIT***
Since this post was originally written, inflation has hit the West. Prices have gone up on these materials, however, it is still a great option for a lasting structure that will give you some great season extension!
This tunnel cost us just a little over $100 (in 2017), can't beat that!
*** EDIT***
Since this post was originally written, inflation has hit the West. Prices have gone up on these materials, however, it is still a great option for a lasting structure that will give you some great season extension!
Like(1)
Dislike(0)
See something you like? Subscribe to see even more!
The subscription gives you:
- Access to Star's profile content.
- Ability to support your Star by contributing – one-time or recurring.
- Means to reaching out to the Star directly via Instant Messenger.
Star Stats
5 subscribers
54 posts
Goals
2.3%
collected
to reach
to reach
The goal is to cover our costs for monthly subscriptions to streaming/recording software so that we can continue to produce content, as well as extra money on the side as Stay at Home Moms. Thank you very much for all of your support! xoxo
Other stars

MauLer
I create videos on YouTube that breakdown media, including Video Games, Movies and TV Shows.

All Things Djuna
I write novels and produce a weekly podcast about writing. I also write a companion blog to my weekly podcast.

Shad Brooks
I write novels and make Infotainment/gaming/educational videos, and much more

Jon Graham
I create video episodes of various web series (including Arby 'n' the Chief) of various genres (comedy, drama, horror), music and streams.

Two For Tea Podcast
Please note that this SubscribeStar page is not actively seeking donations.
Features
The subscription gives you:
- Access to Star's profile content.
- Ability to support your Star by contributing – one-time or recurring.
- Means to reaching out to the Star directly via Instant Messenger.


